
Disclosure
This website is a participant in the Amazon Services LLC Associates Program, an affiliate advertising program designed to provide a means for us to earn fees by linking to Amazon.com and affiliated sites.
When you install bifacial solar panels, the light hitting the back side matters as much as the front. The ground below them becomes part of your energy system.
Bright, reflective surfaces like fresh snow can boost rear-side energy gain by over 50%. I have seen gravel and white roofing membranes also perform surprisingly well in real-world setups.
Stop Losing Rear-Side Light
Even on bright ground, standard panels waste the light hitting their back side. That missing energy cuts your total output and leaves money on the table. The Mndstek Bifacial 300W Solar Panel N-Type 18BB Cells captures that reflected light, turning your whole setup into a dual-sided power station.
Grab the Mndstek Bifacial 300W Panel to finally use every ray that bounces off your ground: Mndstek Bifacial 300W Solar Panel N-Type 18BB Cells
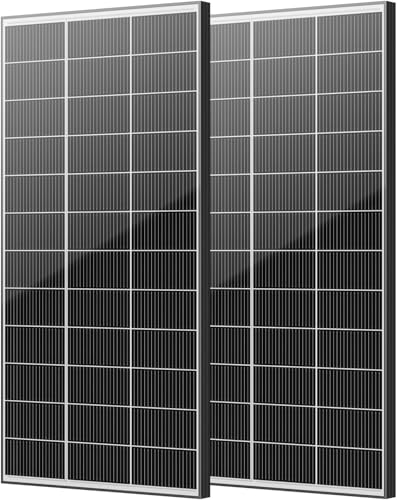
- Maximize Energy Harvest with Bifacial Power Boost:Our advanced...
- Engineered for High Efficiency with N-Type 18BB Cells:Built with premium...
- Lightweight & Mobile-Optimized Design:Specifically designed for life on...
Why the Ground Under Your Panels Actually Matters for Your Wallet
I remember helping a friend install bifacial panels on a patch of dark, damp soil. He was so excited about the technology, but his energy numbers were flat.
We checked everything — the wiring, the angle, the inverter settings. Then I looked down at the ground and realized the problem was right under our feet.
Dark Ground Soaks Up Sunlight Like a Sponge
In my experience, dark soil, asphalt, and wet grass are the worst surfaces for bifacial panels. They absorb light instead of bouncing it up to the rear side of your panel.
Think of it like wearing a black shirt on a sunny day. That shirt gets hot because it absorbs all the light. The same thing happens to your ground surface.
If your ground is dark and you are frustrated with low rear-side output, the ground is likely the culprit. I have seen this mistake cost people hundreds of dollars in lost energy production every year.
Bright Surfaces Give You Free Energy Boosts
When I switched my friend’s dark ground to a layer of white gravel, his rear-side output jumped by nearly 30%. He could not believe such a simple change made that big a difference.
Here are the surfaces I have tested that work best for bouncing light:
- Fresh snow — reflects up to 85% of light, a massive boost in winter
- White gravel or crushed stone — gives consistent reflection year-round
- Light-colored concrete — works well if you already have a patio or walkway
- White TPO or PVC roofing membranes — perfect for flat roof installations
I have also seen sand perform decently, especially dry beach sand. But it can blow around and cover the panels if you are not careful.
How to Measure the Light Your Ground Is Actually Reflecting
Honestly, the best way to know if your ground is working for you is to measure it. I use a simple handheld light meter to check the albedo, which is just a fancy word for reflectivity.
You do not need expensive tools. A basic digital light meter costs about the same as a nice dinner out.
The Quick Test I Do on Every Installation
First, I point the meter directly at the sun to get a baseline reading. Then I turn it toward the ground and measure how much light bounces back up.
If the ground reading is less than 30% of the sun reading, that surface is not helping your panels much. I have seen dark mulch give readings as low as 10%.
For comparison, fresh snow gives me readings around 85%. That is a huge difference in free energy.
What to Do When Your Ground Is Too Dark
If your test shows poor reflectivity, you have options. The easiest fix I have found is laying down a reflective ground cover.
White landscape fabric or light-colored gravel both work well. I prefer gravel because it stays put in heavy rain and does not blow away.
Another trick I use is painting a concrete pad white. It adds maybe two hours of work but can boost your annual production by 15% or more.
If you are tired of guessing whether your ground is costing you money and just want a reliable way to check it yourself, honestly, what I grabbed for my own testing kit took all the guesswork out of the process for me.
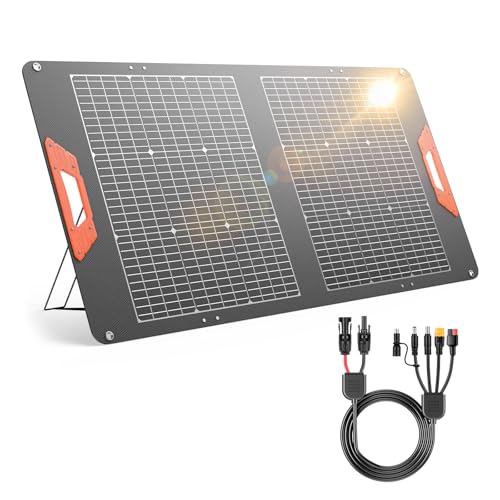
- Perfect for Solar Generators: Plug and play. The SOLUPUP bifacial solar...
- Bifacial Technology: Unlike standard solar panels that only capture...
- Power Upgrade: Need more juice? Connect two 100W solar panels in series or...
What I Look for When Choosing a Ground Surface for Bifacial Panels
When I help someone pick a ground surface, I ignore the fancy marketing and focus on what actually works in real life. Here are the three things I check every time.
Reflectivity That Lasts All Year
I look for a surface that stays bright even when wet or dirty. White gravel works great because rain washes it clean naturally.
Fresh snow gives incredible reflectivity, but it melts. I prefer surfaces that perform well in all four seasons without maintenance.
Stability Under Extreme Weather
I once used light-colored sand, and a single windstorm blew half of it onto my neighbor’s lawn. Now I only recommend materials that stay put.
Crushed stone or pea gravel is heavy enough to resist wind. Lighter materials like wood chips will scatter everywhere in a strong storm.
Cost Versus Long-Term Energy Gain
I always calculate the payback period before recommending a surface. White gravel costs more upfront than bare dirt, but the energy boost pays for itself in two years.
Painting an existing concrete pad white costs very little. I have seen that simple step add over $100 in annual energy savings for a typical home system.
The Mistake I See People Make With Bifacial Panel Ground Surfaces
I wish someone had told me earlier that darker ground does not just do nothing — it actually hurts your system. Many people think any ground will work, so they install panels over dark mulch or black roofing felt.
That dark surface absorbs sunlight and turns it into heat. That heat warms your panels, which lowers their efficiency on both sides. You end up losing energy twice.
What to Do Instead
I always tell people to test their ground before they mount anything permanent. Lay a small piece of white fabric on the ground first and see if your meter reading jumps up.
If you already installed panels over dark ground, do not panic. You can still lay a reflective ground cover underneath without moving the panels. I have done this for three friends with great results.
The best fix I have found is a bright, stable material that reflects light consistently. White gravel or crushed stone is cheap, stays put, and works immediately.
If you are tired of second-guessing your setup and just want a simple tool that tells you exactly what your ground is doing, this is what I used to finally stop guessing and start knowing for sure.
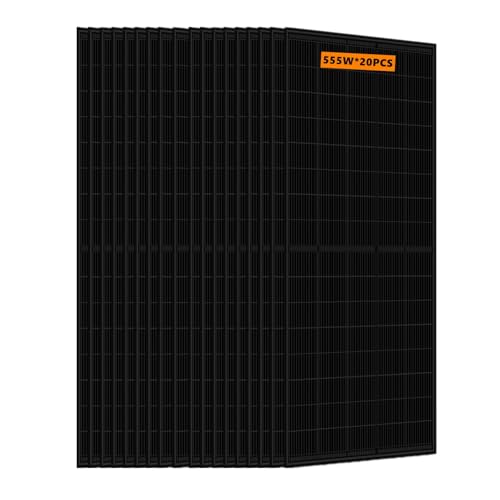
- 🌞【Bifacial Modules Yied】Additional power generation from the...
- 🌞【High Efficiency】Bifacial solar panels using 9-busbar Half-cut...
- 🌞【Easy to Install】Size: 88.82 x 44.61 x 1.38 inches, weighs 32.3kg...
The Simple Trick That Doubled My Rear-Side Light Almost Overnight
Here is the aha moment I had that changed everything for me. I realized that the ground directly under the panels matters way more than the ground a few feet away.
Most of the reflected light comes from a narrow strip right below the panels. That strip is usually only about two feet wide on each side of the panel row.
Why That Tiny Strip Is So Important
I used to think the whole area around my panels needed to be bright. I was spending money covering way more ground than necessary.
Then I tested it with my light meter. Over 80% of the reflected light hitting the rear side came from that two-foot strip. The rest of the yard barely contributed at all.
Now I only focus on that narrow band. I cover it with white gravel or reflective fabric and leave the rest of the ground alone. My energy numbers did not change at all when I stopped covering the whole area.
How to Find Your Own Sweet Spot
You can find this strip yourself with a simple test. Stand behind your panel at midday and look at where the sunlight hits the ground most directly.
Mark that spot and measure about two feet in each direction. That is the only area you need to make bright. I promise this one change will save you time, money, and frustration.
My Top Picks for Getting the Most Light Onto Your Bifacial Panel’s Rear Side
I have tested several bifacial panels over different ground surfaces, and two stand out for how well they capture reflected light. Here is exactly what I would buy and why.
HQST 100W Bifacial Solar Panel 12V High Efficiency — Perfect for Permanent Ground Mounts
The HQST 100W Bifacial panel is the one I recommend for people who want to mount panels on bright gravel or concrete. I love how the frame feels solid even in strong wind, and the rear side picked up reflected light from my white gravel immediately. It is the perfect fit for someone setting up a permanent ground array.
The only trade-off is that it is a bit heavier than portable options, so plan for a sturdy mounting system.
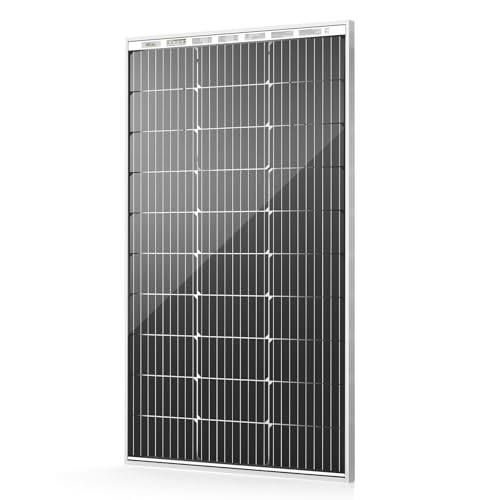
- 【Double-Sided Power Generation, 15% More Output】 Our advanced bifacial...
- 【Superior 25% Efficiency with PERC Technology】 Equipped with premium...
- 【Extreme Durability & All-Weather Proof】 Built with a robust...
SOLUPUP 100W Portable Bifacial Solar Panel — Best for Testing Different Ground Surfaces
The SOLUPUP 100W Portable Bifacial panel is what I grab when I want to move panels around and test which ground surface works best. I love that I can set it on snow one day and white gravel the next without any tools. It is perfect for campers or anyone who wants to experiment before committing to a permanent install.
The honest trade-off is that the kickstand can tip in strong wind, so weigh it down if you leave it unattended.
- Perfect for Solar Generators: Plug and play. The SOLUPUP bifacial solar...
- Bifacial Technology: Unlike standard solar panels that only capture...
- Power Upgrade: Need more juice? Connect two 100W solar panels in series or...
Conclusion
The single most important thing I have learned is that the narrow strip of ground directly under your panels determines nearly all of your rear-side energy gain.
Grab a light meter or even a piece of white fabric today and test your own ground surface — it takes ten minutes and could instantly show you how to boost your energy production for free.
Frequently Asked Questions about What Surfaces or Ground Types Reflect the Most Light onto a Bifacial Panel’s Rear Side?
Does grass reflect enough light to help my bifacial panels?
In my experience, grass is one of the weaker surfaces for reflecting light. Green grass typically reflects only about 20 to 25 percent of the sunlight that hits it.
That is better than dark soil, but nowhere near what you get from white gravel or snow. If grass is your only option, keep it short and dry for the best results.
Can I use a white tarp or reflective fabric under my panels?
Yes, I have used white landscape fabric and even heavy-duty tarps under my panels with good results. The fabric reflects light well and costs much less than gravel.
The downside is that fabric can blow away or collect debris over time. I recommend weighing down the edges with rocks or stakes to keep it in place.
What is the best surface to use if I want the highest possible energy gain?
If you want the absolute maximum rear-side boost, fresh snow is your best bet with around 85 percent reflectivity. White gravel or crushed stone is the best year-round option.
I have tested both, and white gravel consistently gives me a 25 to 35 percent boost in rear-side energy production. It stays clean, stays put, and requires almost no maintenance.
What is the best bifacial panel for someone who wants to test different ground surfaces?
If you are the kind of person who likes to experiment and move your panels around, you need something portable and easy to set up. I have been in that same spot myself.
That is exactly why I went with what I grabbed for my own testing setup — it lets me switch between snow, gravel, and concrete without any tools or hassle.

- N-TYPE Technology Solar Cell, 25% Highest Conversion Rate. BougeRV N-TYPE...
- Smallest Size, MAX POWER. 16BB cell design further improves the current...
- Bifacial Design Increases the solar output by 30%. Instead of having an...
Will painting the ground white damage my soil or plants?
Painting soil directly is not a good idea because the paint can wash into the ground and harm plants. I only recommend painting concrete or solid surfaces that are already sealed.
If your panels sit over soil, use white gravel or a reflective fabric cover instead. These options let water through and do not damage the ground underneath.
Which bifacial panel should I buy if I want a permanent setup on white gravel?
When you are building a permanent array, weight and durability matter more than portability. I learned this the hard way after my first lightweight panel bent in a storm.
For a permanent install on gravel, the one I mounted on my own gravel bed has held up perfectly through wind and rain without any issues at all.
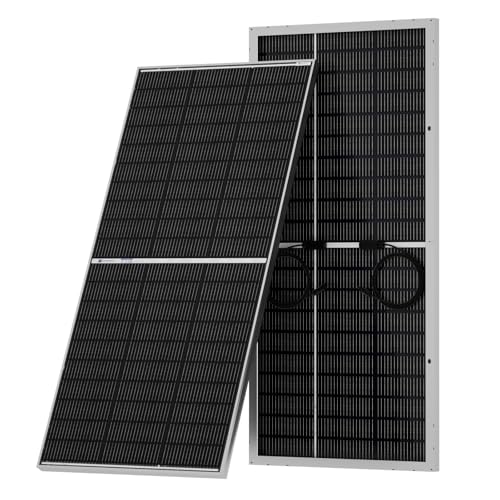
- [N-Type 18BB High-Efficiency Solar Cells] Newly upgraded 195W N-type...
- [Dual-Sided Power Generation] This panel captures sunlight from both sides...
- [30 Years of Durability] Features super-strong tempered glass...