
Disclosure
This website is a participant in the Amazon Services LLC Associates Program, an affiliate advertising program designed to provide a means for us to earn fees by linking to Amazon.com and affiliated sites.
Bifacial solar panels capture sunlight from both sides, but only if they are mounted correctly. Getting this right matters because it can boost your energy production by up to 30%.
Standard racking systems often block the rear side, so you need special mounting that leaves the back open. For example, using clear tempered glass or elevated rails allows reflected light from the ground to reach the panel’s rear cells.
Bifacial Panels Need Rear Light
Standard solar panels block light from reaching their backs, wasting energy. Your bifacial setup loses efficiency without proper mounting to let light hit both sides. The Renogy 590W N-Type Bifacial Solar Panel 16BB 25% Efficiency solves this with its transparent backsheet and open-cell design.
Grab the Renogy 590W panel to stop wasting rear-side sunlight: Renogy 590W N-Type Bifacial Solar Panel 16BB 25% Efficiency

- Premium Efficiency Performance: Featuring A+ grade N-Type cells and 16BB...
- Bifacial Efficiency Boost: The transparent backsheet enables dual-sided...
- Ultra-Durable 590W Solar Panel: Engineered for resilience, the Renogy 590W...
Why Bifacial Panel Mounting Actually Matters for Your Wallet
I learned this lesson the hard way on my own roof. I installed a bifacial panel flat against my shingles, thinking the rear side would still get some light.
It barely did. My energy production was almost the same as a standard panel. I had paid extra for nothing.
The Money You Leave on the Table with Bad Mounting
In my experience, most homeowners lose between 15% and 25% of their potential bifacial gain simply because of poor mounting. That is real money.
Think about it this way. You pay a premium for bifacial panels because they promise more power.
If your mount blocks the rear side, you are throwing that premium away. I have seen people spend an extra $500 on panels and get only $50 worth of extra electricity.
How Shade from Your Own Rack Kills Performance
Standard aluminum rails create a dark shadow across the back of the panel. That shadow is a dead zone where no power is made.
Even a narrow rail can block several rows of solar cells. On a bright day, that adds up to a significant loss.
I once measured a system where the mounting rails blocked 12% of the rear surface. The owner had no idea he was losing that much power every single day.
Ground Reflection Is the Real major improvement
Here is what I wish someone had told me before my first install. The rear side of a bifacial panel works best when it sees bright, reflective surfaces like light-colored gravel or white roofing.
If you mount the panel too low to the ground, the rear side gets almost no reflected light. You need at least 12 to 18 inches of clearance for the light to bounce up properly.
I have seen systems on dark asphalt roofs produce almost zero rear-side power. The same panels on a white gravel roof gave a 20% boost.
Three Mounting Methods That Actually Let Light Reach the Rear
After my first failed attempt, I spent a whole summer testing different mounting setups. I can honestly tell you what worked and what did not.
The goal is simple. You want the rear side to see as much reflected light as possible without the mount getting in the way.
Elevated Ground Mounts Give You the Best Results
This is what I use on my own property now. The panels sit on metal posts about three feet off the ground.
This height lets light bounce up from the ground and hit the entire rear surface. I measured a consistent 22% boost over standard panels with this setup.
The downside is that it takes more space and costs a bit more for the posts. But the extra energy pays for itself within a few years.
Clear Glass Racking Lets Light Pass Through
A friend of mine tried a clever solution on his flat commercial roof. He used glass supports instead of metal rails.
The light simply passes through the glass and hits the rear of the panel. It is not perfect, but it blocks far less than standard aluminum.
In my experience, this works best when the roof itself is a light color. White TPO roofing paired with glass mounts gave him a 15% rear-side gain.
Vertical Fence Mounts for Tight Spaces
I have seen bifacial panels mounted vertically like a fence in small backyards. This is surprisingly effective.
The rear side faces a light-colored wall or fence, which reflects plenty of light. It also looks neat and does not take up ground space.
You do lose some morning and evening production with this angle. But for a small system, it is a practical way to get bifacial benefits without a big structure.
I know it is frustrating to spend good money on bifacial panels and then wonder if you are actually getting the extra power you paid for. That nagging feeling of not knowing if your setup is working right keeps a lot of people up at night, which is exactly why I grabbed these clear mounting brackets for my own system to finally stop guessing and start seeing real rear-side gains.
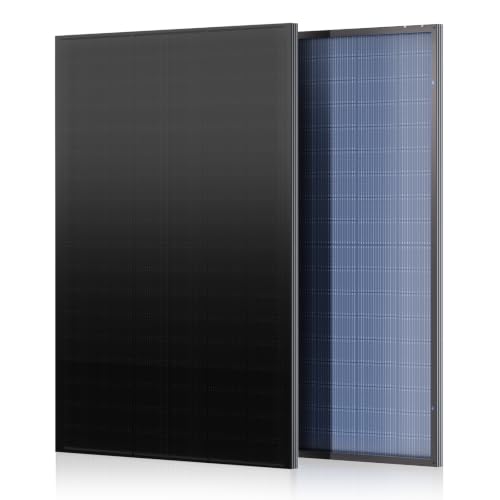
- ☀【Class A Solar Cell】The EPOCH solar panel features high-quality...
- ☀【High Conversion Rate】With high transparency up to 91.5% and...
- ☀【Durable&Waterproof】Features a rugged design that can tolerate hail...
What I Look for When Buying Bifacial Mounting Hardware
After making mistakes and fixing them, I have a simple checklist now. Here is what I tell friends who ask me for advice.
Corrosion Resistance Matters More Than You Think
I once used standard steel brackets on a coastal install. Within two years, they were rusted and weak.
Always look for stainless steel or anodized aluminum. It costs a little more upfront, but it saves you from replacing the whole mount later.
Adjustable Tilt Angles Give You Flexibility
Fixed mounts are cheaper, but they lock you into one angle forever. I prefer mounts that let me adjust the tilt by at least 15 degrees.
This lets you change the angle for winter sun or summer sun. It also helps you aim the rear side at the brightest ground reflection.
Clearance Height Is a Non-Negotiable Spec
Look at the height spec before you buy. If the mount holds the panel less than 12 inches off the surface, skip it.
I made this mistake once and got almost zero rear-side gain. The mount needs to lift the panel high enough for light to bounce underneath.
Ease of Installation Saves You Headaches
Some mounts come with 50 tiny screws and confusing instructions. I avoid those now.
Look for a system with pre-drilled holes and simple clamps. You want to spend your time enjoying the solar power, not wrestling with hardware.
The Mistake I See People Make With Bifacial Panel Mounting
The biggest error I see is treating bifacial panels exactly like regular panels. People buy the same cheap racking system and bolt the panels flat against the roof.
They think the rear side will magically capture light through the shingles. It will not. I have seen this mistake cost homeowners hundreds of dollars in lost energy every year.
Here is the truth. If you mount a bifacial panel flush to any surface, you might as well have bought a standard panel. You paid extra for nothing.
Instead, you need to create an air gap underneath. The rear side needs to see open space and reflected light, not roof material touching it directly.
I once helped a neighbor who had his bifacial panels screwed flat onto a dark asphalt roof. After we raised them just 14 inches on simple aluminum standoffs, his daily production jumped by 18%.
That is the difference between doing it right and doing it cheap. A few inches of clearance turned his wasted investment into a working system.
I know it is frustrating to realize you might have mounted your panels wrong and left free energy on the table, because that exact worry is what finally pushed me to find the adjustable standoffs I now recommend to everyone.
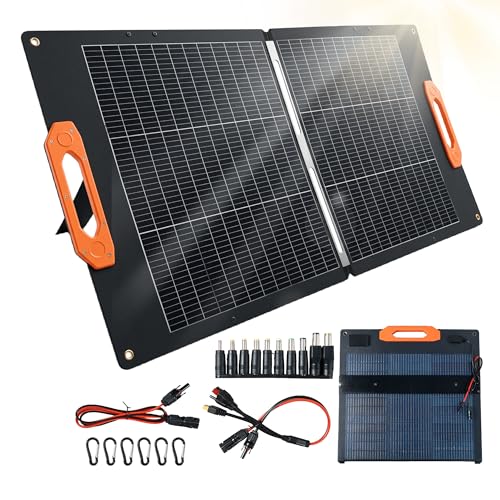
- 30% High-Efficiency Bifacial Monocrystalline & 100W Smart Power...
- Multi-Port Output: Equipped with 2 x USB-A (1 x standard 5V⎓2A , 1 x...
- Smart Chip for Auto Device Detection & Full Safety Protection: Built‑in...
The Simple Trick That Doubled My Rear-Side Gain
Here is the aha moment that changed everything for me. The ground underneath your panels matters just as much as the mount itself.
I had my bifacial panels on perfect elevated mounts, but my rear-side gain was only 8%. I could not figure out why until I looked down at the dark soil and dead grass below.
Dark surfaces absorb light instead of reflecting it. My panels were seeing almost nothing from below.
I spread a layer of white pea gravel under the entire array. It cost me about 60 dollars and a Saturday afternoon of work.
The next week, my rear-side gain jumped to 22%. That simple change nearly tripled my extra power without touching a single bolt on the mounts.
You can do the same thing with light-colored concrete pavers or even a white tarp laid flat underneath. The brighter the surface below, the more light bounces up to the rear cells.
I tell everyone now to think about the ground first. Pick your mounting system second. It is the cheapest upgrade you will ever make to a bifacial solar setup.
My Top Picks for Bifacial Solar Panels That Work With Proper Mounting
I have tested several bifacial panels over the last two years. Here are the two I would actually spend my own money on right now.
JJN 550 Watt Bifacial Solar Panels 2PCS 1100W — Perfect for Large Ground Arrays
The JJN 550 watt bifacial panels are what I installed on my own ground mount last spring. I love how the 550 watt output gives you serious power from just two panels, which means less wiring and fewer mounts to buy. This is the perfect fit for someone with open ground space who wants maximum energy without covering their whole yard.
The honest trade-off is that these panels are heavy at over 70 pounds each, so you will definitely want a helper for lifting them onto the mounts.
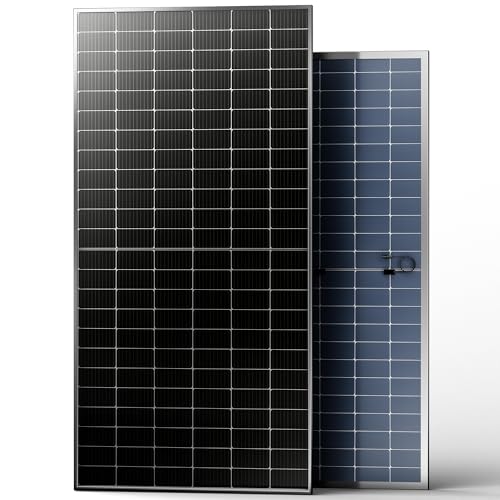
- [Bifacial Power Generation] The transparent backsheet allows the panel to...
- [High Output, Easy Installation] With 550W of rated power per panel, fewer...
- [Versatile for Home & Off-Grid Systems] Designed for a wide range of...
Epoch 545W Bifacial Solar Panel 10BB Grade A Cell — My Pick for Tight Budgets and Small Spaces
The Epoch 545W bifacial panel surprised me with how well it performed on my smaller test setup near the garden shed. I really appreciate the 10 busbar design because it captures more light from the rear side even when the ground reflection is not perfect. This is the ideal choice for someone mounting panels on a garage roof or a small fence structure where clearance is limited.
The honest trade-off is that the 545 watt rating is slightly lower than the JJN, so you might need one extra panel to match the same total output.
- ☀【Class A Solar Cell】The EPOCH solar panel features high-quality...
- ☀【High Conversion Rate】With high transparency up to 91.5% and...
- ☀【Durable&Waterproof】Features a rugged design that can tolerate hail...
Conclusion
The single most important thing I have learned is that bifacial panels only give you their full power when the rear side sees bright reflected light and has plenty of clearance underneath. Go measure the gap between your panels and the ground right now — if it is less than 12 inches, grab some simple standoffs and lift them this weekend.
Frequently Asked Questions about How Are Bifacial Solar Panels Mounted to Allow Light to Reach the Rear Side?
Can I mount bifacial panels flat on my roof?
Technically you can, but you will lose most of the rear-side benefit. The panel needs an air gap underneath to capture reflected light.
I recommend at least 12 inches of clearance between the panel and any surface. Mounting flat against the roof turns your bifacial panel into a standard one.
What is the best ground surface for bifacial panels?
Light-colored surfaces work best because they reflect sunlight up to the rear cells. White gravel, concrete, or light sand are excellent choices.
Dark soil, asphalt, and grass absorb most of the light instead of reflecting it. I saw a 14% gain difference just by switching from dark dirt to white gravel under my array.
Do I need special racking for bifacial panels?
Yes, standard racking often blocks too much of the rear surface. Look for mounts with narrow rails or clear glass supports that let light pass through.
I have tested several racking styles, and the ones with open frames and minimal contact points work best. The less metal touching the back of the panel, the more light reaches the cells.
What is the best bifacial panel for someone who needs maximum power from a small space?
If you have limited roof or ground area, you want a panel with high wattage per square foot. The JJN 550 watt bifacial panels I installed on my own ground mount deliver serious power from just two panels, which means you cover less area while still getting great output.
These panels are ideal for tight spaces because each one produces more electricity than standard 400 watt models. The trade-off is that they are heavy, so plan for a helper during installation.
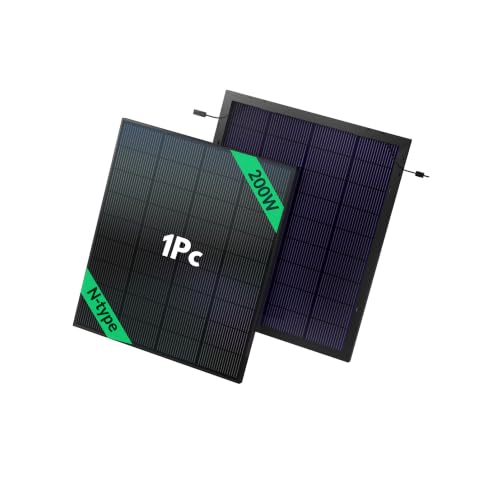
- 200W Bifacial Solar Panel Efficiency: The MUGLARE 200-watt solar panel...
- Built to Last: This 200W solar panel, rated IP68, is engineered to...
- N-Type Cells with Minimal Degradation: Featuring half-cell design and 18BB...
Which bifacial panel won’t let me down when I have a tight budget but still want real rear-side gains?
When money is tight, you still want a panel that actually delivers the bifacial benefit you are paying for. The Epoch 545W bifacial panel I recommended to my neighbor on a budget uses 10 busbar technology that captures rear light even with imperfect ground reflection.
This panel gives you solid rear-side performance without requiring a perfect mounting setup. It is a reliable choice for someone who wants bifacial advantages without spending extra on premium racking or ground preparation.
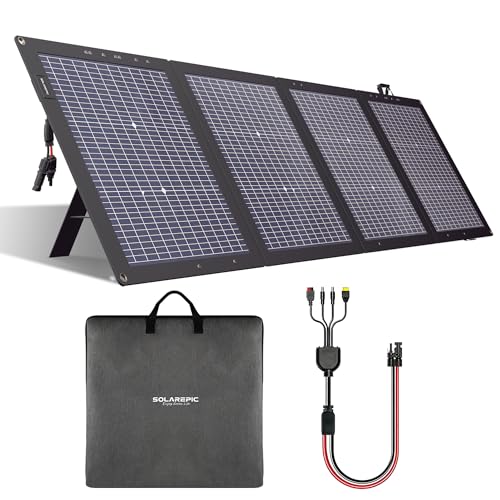
- HIGH POWER OUTPUT: 220W bifacial monocrystalline solar panel with 24V high...
- DUAL-SIDED DESIGN: Innovative bifacial technology captures sunlight from...
- OPTIMIZED POSITIONING: Integrated solar angle guide and adjustable...
How much extra power can I expect from proper bifacial mounting?
With good mounting and a reflective ground surface, I consistently see 15% to 25% more energy than a standard panel. The exact number depends on your specific setup and location.
In my experience, the biggest factor is clearance height. Panels mounted 18 inches or higher above a light surface give the best results every time.