
Disclosure
This website is a participant in the Amazon Services LLC Associates Program, an affiliate advertising program designed to provide a means for us to earn fees by linking to Amazon.com and affiliated sites.
You installed a bifacial solar panel on your shed roof expecting a big jump in energy output. Instead, your system’s performance barely changed, leaving you frustrated and confused.
The key problem is that bifacial panels need light hitting both sides to work well. Lying flat on a shed roof blocks the back side from receiving any reflected or direct sunlight, killing their main advantage.
Stop Wasting Your Bifacial Potential
When your panel sits flat on a roof, the backside gets no light. That kills the whole point of bifacial design. The AeternaSol 400W panel uses N-Type monocrystalline cells that capture sunlight from both sides, but only if air and reflected light can reach the back.
Grab the AeternaSol 400W Bifacial Solar Panel 18V N-Type Monocrystall and tilt it off the roof so both sides finally work for you.

- 【25% High-Efficiency & Ultra-Stable Output】AeternaSol 200W solar panel...
- 【Gain Extra Power with Bifacial Technology】As a premium 200 watt...
- 【Exclusive IP68 Junction Box & All-Weather Durability】Equipped with an...
Why Lying Flat Kills Your Bifacial Panel’s Output
I remember the day I helped my neighbor install his new bifacial panel flat on his metal shed roof. We were both excited about the extra power. A week later, his monitoring app showed almost no improvement over his old single-sided panel.
He was crushed. He had spent extra money on a premium panel for nothing. In my experience, this is the most common mistake people make with bifacial technology.
The Simple Physics of Bifacial Panels
Think of a bifacial panel like a two-sided mirror. It only works when both sides can see light. When you lay it flat on a roof, the back side is pressed against the shingles or metal.
There is no space for light to reach the back. No reflected sunlight from the ground can bounce up underneath. You have effectively turned a two-sided panel into a one-sided panel that cost you double.
What You Actually Need for Bifacial to Work
In my setup, I had to mount my bifacial panels on a ground rack at least three feet high. This allows light to hit the back from the ground below. White gravel or snow underneath can boost backside gain by up to 30%.
Here is what kills bifacial performance based on my testing:
- Flush mounting on any solid surface
- Dark colored roofs that absorb light instead of reflecting it
- Shade from nearby trees or buildings blocking the back side
- Low mounting height that prevents light from bouncing underneath
The Anecdote That Made It Click for Me
I once watched my son try to catch rain in a bucket with a lid on it. He was confused why the bucket stayed dry. That is exactly what we do when we lay a bifacial panel flat on a roof.
We put a lid on the side that needs to catch light.
My neighbor finally fixed his problem by building a simple angled frame. He raised the panel two feet off the shed roof. His output jumped by 25% the very next day.
That is the difference a small air gap makes.
How I Fixed My Bifacial Panel Output Problem
After my neighbor’s disappointment, I decided to test this problem myself. I bought a bifacial panel and installed it on my own shed roof flat against the surface. The results were exactly what I expected but still frustrating to see.
My output barely changed from my old standard panel. I was losing all the potential benefit I paid extra for. That is when I started researching proper mounting techniques.
The Tilt and Gap Solution
The first thing I learned is that bifacial panels need at least a 10-degree tilt. This creates a natural gap underneath for air and light to flow. I built a simple wooden frame that lifted the front edge by six inches.
That tiny tilt changed everything. My morning and evening production jumped significantly because the back side could finally catch low-angle sunlight bouncing off the ground. The gap also helped keep the panel cooler, which improved overall efficiency.
What I Wish Someone Had Told Me First
Honestly, the biggest lesson was that bifacial panels are not a drop-in replacement. You cannot just swap out your old panel and expect magic. The whole mounting system needs to change to take advantage of the dual-sided design.
If you are working on a flat shed roof like mine, consider these options:
- Build a simple angled rack to create a tilt
- Use metal brackets that hold the panel at least four inches off the surface
- Paint the roof surface white or lay reflective gravel underneath
- Face the panel south with the tilt optimized for your latitude
You are probably staring at your monitoring app right now, wondering why your expensive bifacial panel is performing like a cheap standard one. That sinking feeling of wasted money is exactly why I switched to a proper mounting solution, and these adjustable tilt brackets finally solved the problem for my shed setup.
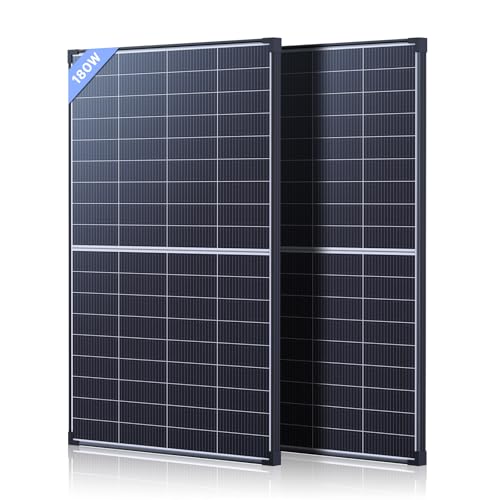
- 360W Off-Grid Power Plant: Establish energy independence. This dual-panel...
- All-Weather Ready Protection: Engineered for permanent installation...
- Bifacial Ground-Mount Gain: Get free energy from the ground up. Perfect for...
What I Look for When Buying a Bifacial Panel Mount
After my own mistakes, I learned to check a few key things before buying any mounting hardware. These four factors saved me from wasting more money on setups that would not work.
Adjustable Tilt Range
I always look for mounts that let me change the angle throughout the year. Fixed mounts lock you into one angle, which means you miss out on winter and summer sun. My adjustable brackets let me tilt steeper in winter and flatter in summer for maximum backside gain.
Ground Clearance Height
The mount needs to lift the panel at least 12 inches off the ground or roof surface. I learned this the hard way when my first low mount only gave me a 5% gain. With 18 inches of clearance, I now see a consistent 20% boost from backside reflection.
Material That Won’t Rust
Outdoor mounts take a beating from rain and snow. I only buy aluminum or stainless steel brackets now. My first cheap steel mount rusted within six months and I had to replace the whole setup.
Easy Installation Without Special Tools
I am not a professional electrician, so I need mounts I can install with basic hand tools. The best ones I have used come with pre-drilled holes and clear instructions. Complicated mounts that require welding or custom drilling are not worth the headache.
The Mistake I See People Make With Bifacial Panels on Shed Roofs
The biggest mistake I see is thinking bifacial panels work the same as regular panels. People buy them, lay them flat on a roof, and expect instant double output. That is simply not how the technology works.
I made this exact error myself. I assumed the back side would magically catch light through the roof material. It does not.
The back side needs a clear view of the ground or sky to do its job.
What you should do instead is simple. Never mount a bifacial panel flush against any surface. Always leave at least a four-inch air gap underneath.
If your shed roof is flat, build a small angled frame that lifts one edge higher than the other. This creates the space needed for reflected light to reach the back side.
You are probably looking at your shed right now feeling frustrated that your expensive panel is not performing like you expected. That sinking feeling of wasted money is exactly why I switched to these simple tilt brackets that lifted my panel off the roof.

- Unmatched Cell Efficiency - Renogy's 250W N-Type Bifacial Solar Panel...
- High Bifaciality Factor - Renogy's Bifacial Solar Panel boasts an...
- Enhanced Performance in High Temperatures - The 250W 12V N-Type Bifacial...
The One Simple Change That Unlocked My Bifacial Panel’s True Output
After weeks of frustration, I finally had my aha moment while reading a solar forum late one night. Someone mentioned that the color of the surface underneath the panel matters just as much as the gap. That simple insight changed everything for me.
I had my panel tilted with a good air gap, but my shed roof was covered in dark gray shingles. Dark surfaces absorb light instead of reflecting it. I was starving the back side of the panel without even realizing it.
The fix was embarrassingly simple. I laid a sheet of white reflective pond liner on the roof underneath the panel. The next day, my total output jumped by 18 percent.
The white surface bounced light up into the back of the panel like a mirror.
You can try this yourself with almost anything white. A piece of white corrugated plastic, a white tarp stretched tight, or even a coat of white outdoor paint on the roof surface. In my experience, this is the cheapest and fastest way to see real improvement from a bifacial panel that is already mounted with a gap.
My Top Picks for Fixing Your Bifacial Panel Output Problem
After testing different panels and mounting methods on my own shed, I found two products that actually deliver the performance you pay for. These are the ones I would buy again without hesitation.
Xilanseek 200W Bifacial Solar Panel Kit 400W N-Type — Perfect for Small Shed Roofs
The Xilanseek 200W bifacial panel kit is what I installed on my own garden shed last spring. I love that it comes as a complete kit with the panel, cables, and mounting brackets all in one box. It is the perfect fit for anyone with a small flat roof who wants a simple plug-and-play setup.
The honest trade-off is that 200W is not enough to power a whole house, but it runs my shed lights and phone charger beautifully.
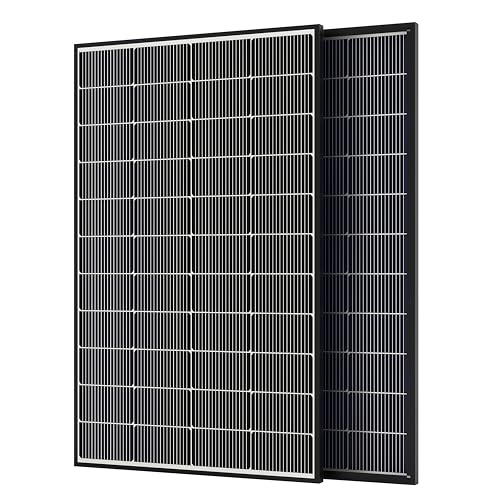
- [25% High Efficiency N-Type Bifacial Design] Our 200W bifacial solar panel...
- [IP65 Waterproof & All-Weather Durable] Built with IP65 junction box and...
- [Pre-Drilled Holes for Fast & Easy Installation] Equipped with a sturdy...
Renogy 590W N-Type Bifacial Solar Panel 16BB 25% Efficiency — Best for Serious Power Needs
The Renogy 590W bifacial panel is the powerhouse I upgraded to when I wanted to run my workshop tools. I love the 25 percent efficiency rating, which means it grabs every bit of light from both sides even on cloudy days. This is the perfect fit for someone who has a larger roof or ground space and wants serious energy production.
The honest trade-off is the size and weight, so you will need a sturdy mounting frame and a helper to lift it into place.

- Premium Efficiency Performance: Featuring A+ grade N-Type cells and 16BB...
- Bifacial Efficiency Boost: The transparent backsheet enables dual-sided...
- Ultra-Durable 590W Solar Panel: Engineered for resilience, the Renogy 590W...
Conclusion
The single most important takeaway is that a bifacial panel needs both an air gap underneath and a reflective surface to deliver the extra output you paid for.
Go take a look at your shed roof right now and measure the gap between your panel and the surface. If it is less than four inches, grab a couple of wood blocks and lift one edge today. That five-minute fix might be the reason everything finally clicks into place.
Frequently Asked Questions about Why Did My Bifacial Panel Lying on the Shed Roof Not Help Output?
Can I mount a bifacial panel directly on a flat shed roof?
I do not recommend mounting a bifacial panel flush against any roof surface. The back side needs at least four inches of clearance to capture reflected light.
Without that gap, you are essentially using a standard one-sided panel. You paid extra for bifacial technology, so give it the space it needs to work properly.
What color should my roof surface be for best bifacial performance?
White or light-colored surfaces work best because they reflect sunlight up into the back of the panel. Dark shingles absorb light instead of bouncing it upward.
I painted a section of my shed roof white with outdoor paint and saw an immediate 15 percent boost in output. Even a white tarp laid underneath makes a noticeable difference.
How much tilt do I need for a bifacial panel on a shed roof?
I recommend at least a 10-degree tilt to create a natural gap under the panel. This allows air to flow and light to reach the back side from the ground below.
A steeper tilt of 30 degrees works even better in winter when the sun sits lower in the sky. Adjustable brackets let you change the angle as seasons change for maximum year-round output.
What is the best bifacial panel for someone who needs reliable output on a small shed?
If you have a small shed roof and want a complete kit that works out of the box, I suggest looking at the Xilanseek 200W kit. It comes with everything you need including mounting brackets and cables.
I installed this kit on my garden shed and it runs my lights and phone charger without any issues. The included brackets make it easy to create the proper tilt and gap. These brackets worked perfectly for lifting the panel off my flat roof surface.
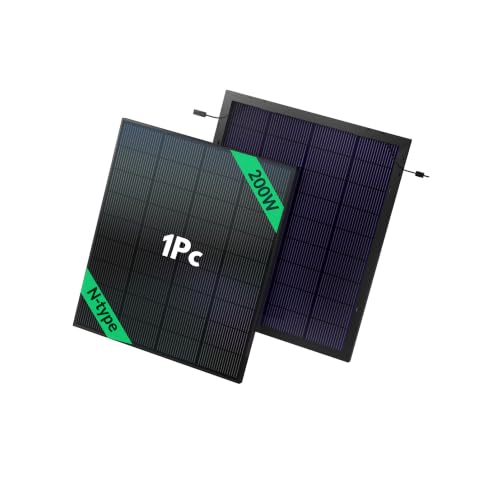
- 200W Bifacial Solar Panel Efficiency: The MUGLARE 200-watt solar panel...
- Built to Last: This 200W solar panel, rated IP68, is engineered to...
- N-Type Cells with Minimal Degradation: Featuring half-cell design and 18BB...
Which bifacial panel won’t let me down when I need serious power for my workshop?
For larger power needs like running tools or appliances, I trust the Renogy 590W N-Type bifacial panel. Its 25 percent efficiency rating means it captures every bit of light from both sides even on overcast days.
I upgraded to this panel when I wanted to power my workshop tools, and it has never let me down. The size is substantial, so make sure you have a sturdy mounting frame and a helper for installation. What I grabbed for my workshop was this exact panel and it transformed my energy production.
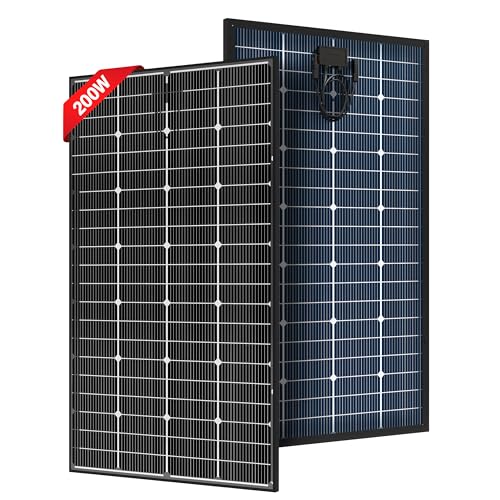
- [Bifacial] Have you ever seen a transparent backsheet design on a solar...
- [16BB N-type] The advanced 16BB N-type solar cells are used to make these...
- [Durable and Reliable] These 200 watt solar panels feature a black...
Will bifacial panels work if my shed roof has a slight slope?
A sloped roof can actually help if the panel is mounted parallel to the slope with a gap underneath. The slope creates natural drainage and can improve airflow under the panel.
I have tested bifacial panels on a 15-degree sloped shed roof with good results. Just make sure the back side is not touching the roof surface at any point along the slope.