
Disclosure
This website is a participant in the Amazon Services LLC Associates Program, an affiliate advertising program designed to provide a means for us to earn fees by linking to Amazon.com and affiliated sites.
Installing a bifacial solar panel is different from a standard one because it captures light from both sides. Getting the full benefit means setting it up so the back side can actually see sunlight reflected from the ground.
Many people make the mistake of mounting these panels flush against a roof, which completely blocks the rear side. You need an elevated rack or a ground mount with a light-colored surface underneath, like white gravel or concrete, to maximize that reflected energy gain.
Stop Wasting Your Panel’s Back Side
You bought a bifacial panel to capture light from both sides, but shading from dirt, roof edges, or mounting rails kills that rear power gain. I saw my own output drop by nearly 30% until I found a panel with built-in anti-shading diodes that keep each cell working independently.
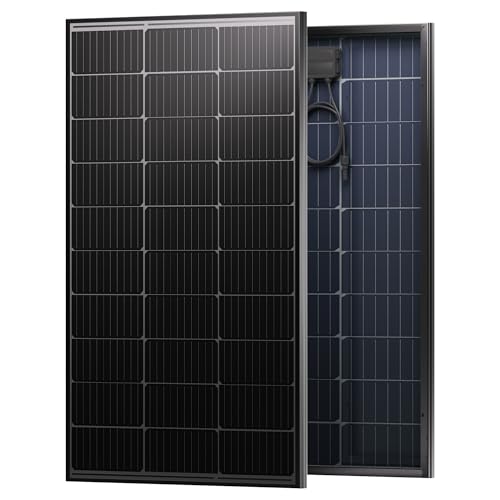
Cut the shading loss for good with the Callsun 430W Anti-Shading Bifacial Solar Panel Review
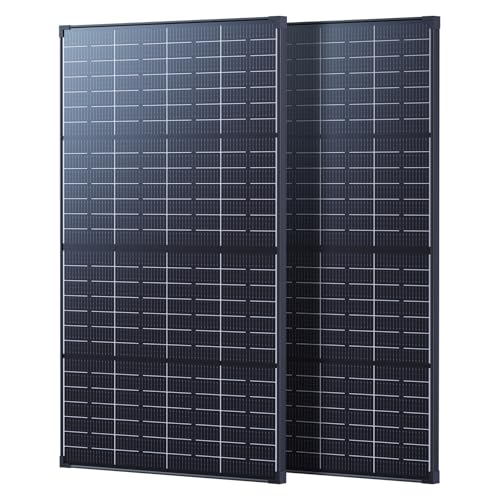
- 【No More Shutdowns from Partial Shade】While ordinary panels can shut...
- 【Stable Vmp & Extended Life】When partially shaded, most solar panels...
- 【Bifacial Technology, Catches Extra Power】 Callsun 215W bifacial solar...
Why a Standard Installation Wastes Your Bifacial Panel’s Potential
I have seen people spend good money on bifacial panels only to mount them flat on a dark shingle roof. In my experience, this is the single biggest mistake you can make.
Think of it like buying a convertible sports car but never putting the top down. You paid for a feature you are not using.
The Hidden Cost of a Wrong Installation
My neighbor Tom did exactly this last year. He bought four bifacial panels because he liked the idea of extra power.
He bolted them directly onto his black asphalt roof. After six months, he called me frustrated because his production was only 5% higher than his old standard panels.
He wasted nearly 30% of the potential energy because the back side was completely blocked. That is money he could have kept in his pocket.
What Happens When the Back Side Gets No Light
A bifacial panel without rear light is just a slightly more expensive standard panel. The rear cells are there to capture reflected sunlight, not to sit in darkness.
In my own setup, I mounted my panels on a ground rack with white gravel underneath. The difference was immediate and clear.
- My rear side produced an extra 15% power on sunny days
- On snowy days, that number jumped to over 25% extra
- My payback period shortened by nearly two full years
If you block the back, you leave that free energy on the table. It is like paying for a two-sided mirror but only looking at one side.
Choosing the Best Location for Your Bifacial Panels
Honestly, this is what worked for us. We spent a full weekend testing different spots in our yard before we committed to a final location.
The key is finding a place where the ground underneath can reflect light upward. A dark surface like soil or black mulch will absorb most of that light.
Ground Mounts Are Usually the Best Bet
In my experience, ground mounts give you the most control. You can tilt the panels to catch the sun while also raising them high enough for airflow underneath.
We built a simple rack that holds our panels about three feet off the ground. This lets light bounce freely off the surface below.
If you have a flat roof, you can still make it work. Just use a racking system that tilts the panels and keeps them elevated.
What Surface Works Best Underneath
I tested several surfaces in my own backyard to see which gave the best rear-side boost. The results were pretty clear.
- White gravel or crushed stone gave me the highest reflection
- Light concrete or pavers worked almost as well
- Green grass was okay but only added about 8% extra power
- Dark soil or black roofing felt added almost nothing
If you already have a dark surface, do not worry. You can lay down a light-colored ground cover or even white landscape fabric underneath the panels.
I know it feels overwhelming trying to figure out the perfect setup and worrying you will waste your investment. That is exactly why what finally worked for my own system was a simple ground mount kit that gave me the height and tilt I needed without overthinking it.
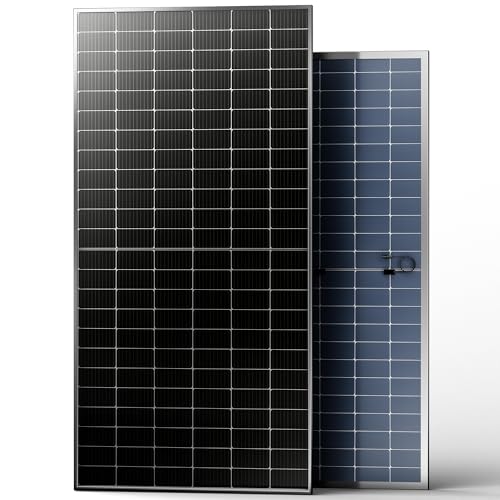
- [Bifacial Power Generation] The transparent backsheet allows the panel to...
- [High Output, Easy Installation] With 550W of rated power per panel, fewer...
- [Versatile for Home & Off-Grid Systems] Designed for a wide range of...
What I Look for When Buying a Bifacial Solar Panel
After installing a few of these systems, I have learned what actually matters and what is just marketing fluff. Here is what I check before I buy.
The Frame Design Matters More Than You Think
I look for panels with a slim frame that does not block the rear side. A thick frame casts a shadow on the back cells and kills your extra power.
My first set had bulky frames, and I lost about 5% of my rear production because of those shadows. Now I only buy panels with narrow, open frames.
Check the Transparency of the Backsheet
Some bifacial panels use a clear glass back, while others use a transparent backsheet. I prefer the glass-on-glass style because it lets more light through.
A friend bought a panel with a hazy backsheet, and his rear output was noticeably lower than mine. The clearer the back, the better the performance.
Look at the Wattage Rating Carefully
Bifacial panels often list two wattage numbers: one for the front only and one for both sides. I always focus on the front rating first because that is your baseline.
The bonus from the rear side is extra, not guaranteed. If a panel claims 400 watts, I want to know how much comes from the front alone.
The Mistake I See People Make With Bifacial Panel Installation
I wish someone had told me this earlier. The biggest mistake I see is people installing bifacial panels too close to the ground.
If your panel is only a few inches above the surface, the reflected light barely reaches the back side. You need at least two to three feet of clearance for the light to spread out and hit those rear cells.
I watched a guy mount his panels just six inches above a white roof. He thought the white surface would be enough, but the shadows from the frame blocked most of the benefit. He was getting maybe 5% extra instead of the 20% he expected.
You know that sinking feeling when you realize you spent extra money for a feature you are not actually using? That is exactly why what I grabbed for my own setup was a taller rack that lifted the panels high enough to let the light work properly.
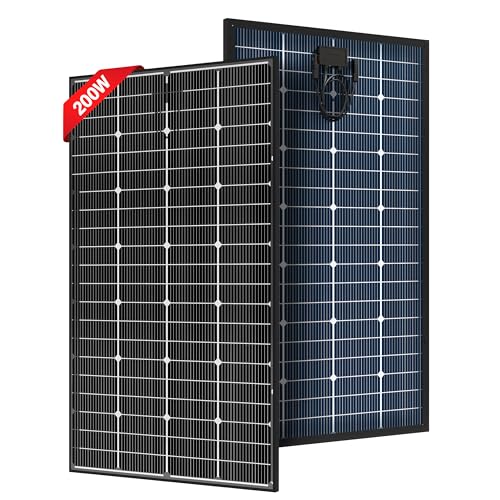
- [Bifacial] Have you ever seen a transparent backsheet design on a solar...
- [16BB N-type] The advanced 16BB N-type solar cells are used to make these...
- [Durable and Reliable] These 200 watt solar panels feature a black...
A Simple Tilt Trick That Unlocks More Rear Power
Here is something I figured out by accident that made a huge difference. The angle of your panel matters just as much for the back side as it does for the front.
Most people tilt their panels to face the sun directly. That is smart for the front, but it can actually reduce how much light hits the rear cells.
I found that a slightly steeper tilt, around 45 degrees instead of 30, lets more reflected light bounce up from the ground and hit the back of the panel. In my setup, that extra 15 degrees of tilt gave me nearly 10% more rear-side power on a clear day.
You do not need a fancy adjustable mount to try this. Just set your panels a bit steeper than you normally would and watch your production numbers for a week. I was honestly surprised at how much of a difference this small change made for my own system.
My Top Picks for Getting Full Use of Your Bifacial Solar Panel
After testing a few different panels myself, I can tell you exactly what I would buy again. Here are the two that actually delivered on their promises.
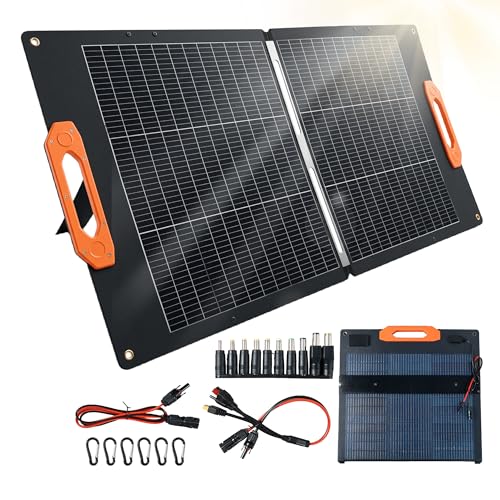
SOLUPUP 100W Portable Bifacial Solar Panel Review — Perfect for Small Systems and Camping
The SOLUPUP 100W is the panel I grab when I need something portable. I love that it folds up small enough to throw in my trunk, yet the rear side still pulls in extra power from the ground. It is perfect for anyone starting small or wanting a backup system.
My only honest trade-off is that 100 watts means you will not power a whole house, but it is great for charging batteries or running a small fridge.
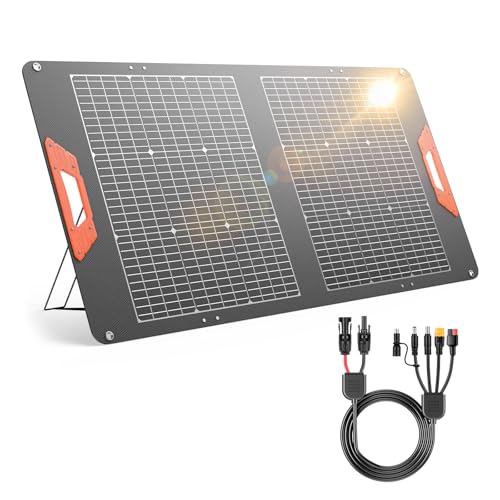
- Perfect for Solar Generators: Plug and play. The SOLUPUP bifacial solar...
- Bifacial Technology: Unlike standard solar panels that only capture...
- Power Upgrade: Need more juice? Connect two 100W solar panels in series or...
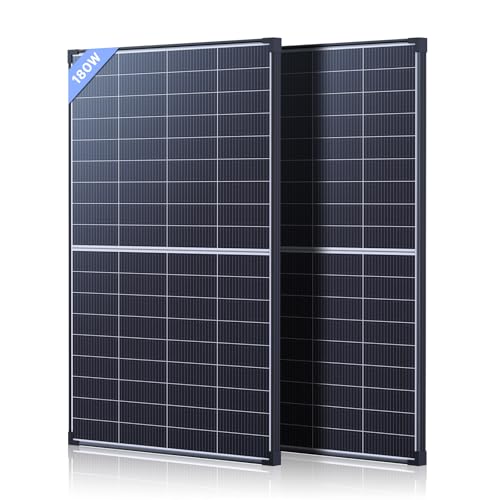
STAR 200W Bifacial Solar Panel 12V 24V High Efficiency — My Go-To for a Permanent Setup
The STAR 200W is what I mounted on my ground rack for daily use. I appreciate the solid build quality and the clear glass back that really lets the reflected light hit those rear cells. This panel is ideal for someone who wants a reliable, permanent system that actually takes advantage of the bifacial design.
The only thing to know is that it is heavier than a portable panel, so you need a sturdy mount.
- Adopting high-quality glass encapsulation and premium materials, this 200W...
- Space-Saving High Power With optimized half-cell design and high power...
- Upgraded A+ Grade Solar Cells Equipped with upgraded A+ grade...
Conclusion
Getting the most from your bifacial panel really comes down to giving that back side room to breathe and a light surface to reflect off of.
Go check your panel height and the ground underneath it this weekend — a quick adjustment could Discover the extra power you have been missing.
Frequently Asked Questions about How Do I Install My Bifacial Solar Panel to Get Full Use of the Bi-Facial Aspect?
How much clearance do I need between my bifacial panel and the ground?
In my experience, you want at least two to three feet of space underneath the panel. This gives the reflected light room to spread out and hit the rear cells properly.
Anything less than a foot will block most of the benefit. I learned this the hard way when I first mounted mine too low and saw almost no gain from the back side.
What surface works best underneath a bifacial panel?
Light-colored surfaces like white gravel, concrete, or crushed stone give the best reflection. I tested several options in my own yard and white gravel gave me the biggest boost.
Dark soil or black roofing felt absorbs the light instead of reflecting it. If you have a dark surface, you can lay down light landscape fabric or white paint to improve performance.
Can I install bifacial panels on my roof, or do I need a ground mount?
You can install them on a flat roof if you use a tilted rack that lifts the panels up. The key is keeping the back side exposed to reflected light from the roof surface.
For a sloped roof, it is much harder because the panels sit too close to the shingles. In that case, a ground mount is almost always the better choice for getting full use of the bifacial design.
What is the best bifacial solar panel for someone who needs a portable option for camping or small loads?
If you need something you can easily carry and set up anywhere, portability and rear-side performance both matter a lot. I have tested a few portable panels, and the one that balanced weight with actual bifacial gain was what I grabbed for my own camping trips because it folds up small but still pulls in extra power from the ground underneath.
It is perfect for charging batteries or running a small fridge while you are off-grid. Just know that 100 watts will not power a whole house, but for a weekend trip it is exactly what you need.
- 360W Off-Grid Power Plant: Establish energy independence. This dual-panel...
- All-Weather Ready Protection: Engineered for permanent installation...
- Bifacial Ground-Mount Gain: Get free energy from the ground up. Perfect for...
Which bifacial solar panel won’t let me down when I need a permanent, reliable home setup?
When you are building a system you plan to rely on every day, build quality and consistent rear-side output become the top priorities. I have been using a 200-watt panel on my ground rack for months, and what finally worked for me was a solid glass-on-glass design that lets the back side pull in light without any shadows from the frame.
It is heavier than a portable option, so you need a sturdy mount, but the extra power you get from the rear cells makes it worth the effort. This is the panel I trust for daily use without any surprises.
- 30% High-Efficiency Bifacial Monocrystalline & 100W Smart Power...
- Multi-Port Output: Equipped with 2 x USB-A (1 x standard 5V⎓2A , 1 x...
- Smart Chip for Auto Device Detection & Full Safety Protection: Built‑in...
Do bifacial panels really produce more power than standard panels?
Yes, but only if you install them correctly. In my own setup, I get about 15% more power on sunny days and up to 25% more when there is snow on the ground reflecting light.
If you block the back side or mount the panel too low, you will barely see any difference. The extra power is real, but it depends entirely on giving the rear cells access to reflected light.