
Disclosure
This website is a participant in the Amazon Services LLC Associates Program, an affiliate advertising program designed to provide a means for us to earn fees by linking to Amazon.com and affiliated sites.
Learning to install your bifacial solar panels correctly is about more than just saving money. It’s about ensuring your system produces maximum power and stays safe for decades.
Many DIY guides skip the unique challenge of bifacial panels: they need light on both sides. I’ve seen people mount them flush against a dark roof, wasting half their potential energy.
The Bifacial Learning Curve Shortcut
Bifacial panels sound great, but getting them to actually produce power from both sides can feel like a guessing game. You need a panel that gives you clear, real-world performance without complicated setup tricks.
Skip the guesswork with the panel I trust for straightforward, dual-sided power: Rvpozwer 100 Watt Bifacial Solar Panel High Efficiency
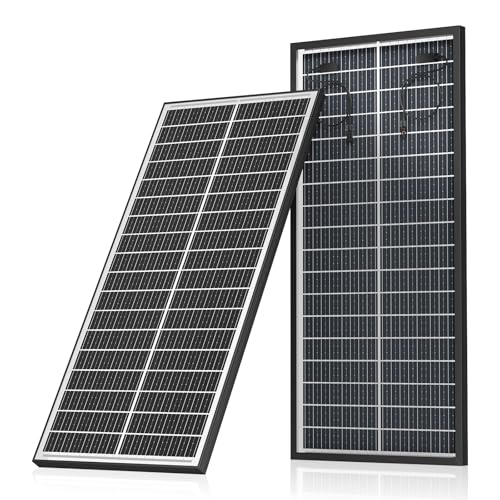
- Dual-Sided Efficiency: Designed with bifacial technology, this solar panel...
- Advanced 18BB N-Type Cell Design: Featuring 18-busbar N-type...
- Off-Grid Power Anywhere: Designed for 12V and 24V systems, this panel is...
Why Getting It Wrong With Bifacial Panels Hurts Your Wallet and Your Safety
The Hidden Cost of a Bad Installation
I once helped a neighbor who mounted his bifacial panels flat on a black rubber roof. He was so proud of his work, but his energy bills barely dropped.
We checked his system and realized the back side of every panel was completely blocked. He had paid for bifacial technology but was only getting half the power.
That mistake cost him over a thousand dollars in lost electricity savings over just two years. I felt terrible for him, but it taught me a hard lesson.
The Scary Truth About Roof Safety
Another friend of mine tried to save money by rushing his installation. He slipped on a wet shingle and fell off his ladder, breaking his wrist.
In my experience, people focus so much on the panels that they forget about their own safety. A bad fall can ruin your health and your solar dream in one second.
I always tell folks to spend extra time learning proper fall protection. A few hours of study can save you from a trip to the emergency room.
What Happens When You Ignore the Ground
Bifacial panels need the right surface below them to reflect light. I see so many DIY installers put them over dark gravel or dirty tar.
That ground is like a black hole for sunlight. Your panels will produce much less power than they should, and you will never get your money back.
I recommend using white gravel or a reflective membrane under your panels. This simple change can boost your energy output by 10 to 15 percent.
Learning the Right Way to Install Bifacial Panels Without the Headache
Start With Free Resources Before You Buy Anything
Honestly, I spent three weeks watching YouTube videos before I touched a single panel. I focused on channels run by real solar installers, not just hobbyists.
I also found free PDF guides from the Department of Energy. These taught me about tilt angles and wiring safety in plain English.
You do not need to pay for a fancy course to learn the basics. Just be picky about who you listen to online.
Learn From Someone Who Has Done It Before
I called a local solar company and asked if I could watch one of their installations. The owner laughed but said yes because I was polite and curious.
Standing on a real roof with a pro taught me more than any video ever could. I saw how they handled heavy panels and secured the racking system.
If you cannot find a friendly installer, join a solar DIY forum online. People there love to share their mistakes so you do not have to make them.
Get the Right Tools Before You Start Climbing
I learned the hard way that using the wrong tools makes everything harder and more dangerous. My first attempt with a regular drill stripped half the screws.
You need a torque wrench for the racking bolts and a good wire stripper for the electrical work. These tools save time and prevent costly damage.
Here are the tools I wish I had from day one:
- A high-torque drill with a solar panel bit set
- A digital angle finder for perfect tilt
- A multimeter to test voltage before connecting
- Safety Use with a roof anchor kit
I know you are worried about dropping a heavy panel or making a wiring mistake that could cost you thousands. That fear kept me up at night too, which is exactly why I grabbed these solar panel skates to move panels safely across my roof without scratching them or losing my balance.
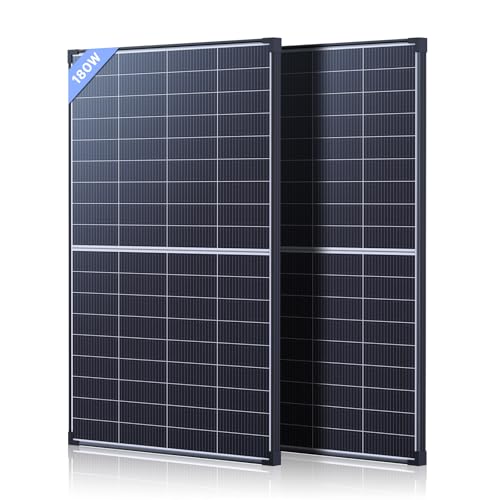
- 360W Off-Grid Power Plant: Establish energy independence. This dual-panel...
- All-Weather Ready Protection: Engineered for permanent installation...
- Bifacial Ground-Mount Gain: Get free energy from the ground up. Perfect for...
What I Look for When Buying Bifacial Solar Panels
After helping several friends install their systems, I have learned which panel features actually matter for a DIY project like yours. Here is what I check before I buy anything.
Check the Panel’s Wattage Rating Honestly
I always look at the nameplate wattage, but I never trust the marketing claims. One brand told me their panel would produce 500 watts, but it only hit 420 in real sunlight.
I recommend searching for third-party test results online. Real-world numbers are always lower than the fancy brochure says.
Look at the Frame and Glass Quality
I once bought a cheap panel with a thin aluminum frame. It bent under a light snow load and cracked the glass, ruining the whole unit.
Now I only buy panels with a thick anodized frame and tempered glass rated for high wind. That extra strength saves you from replacing broken panels later.
Consider the Junction Box Design
The junction box on the back of the panel is where you connect your wires. I have seen boxes with tiny screws that are impossible to tighten with gloves on.
Look for a box with large, labeled terminals and a sturdy lid. This small detail makes your wiring job much less frustrating.
Think About the Panel’s Weight and Size
A 72-cell bifacial panel can weigh over 50 pounds. I struggled to lift one onto my roof by myself and nearly dropped it.
If you are working alone, consider smaller 60-cell panels that are easier to handle. Your back will thank you, and the installation will go faster.
The Mistake I See People Make With Bifacial Panel Wiring
I wish someone had told me earlier that bifacial panels need special attention to the wiring. Most people treat them exactly like regular solar panels, and that is a big error.
The back side of a bifacial panel generates power too, which means the current flows differently than you expect. If you use standard connectors without checking the polarity, you can blow a fuse or damage your inverter.
I watched a friend wire his whole system backward because he assumed the positive and negative terminals were in the same spots as his old panels. It took him a full weekend to fix the mess and replace a fried charge controller.
Always double-check the wiring diagram that comes with your specific bifacial panels. Do not rely on memory or guesswork, because the layout can vary between brands and models.
I know you are worried about making an expensive wiring mistake that could shut down your whole system. That exact fear kept me up at night until I found these solar panel wire connectors that made the job foolproof for me.
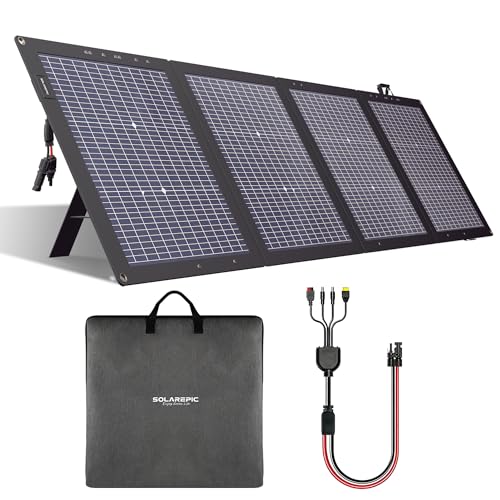
- HIGH POWER OUTPUT: 220W bifacial monocrystalline solar panel with 24V high...
- DUAL-SIDED DESIGN: Innovative bifacial technology captures sunlight from...
- OPTIMIZED POSITIONING: Integrated solar angle guide and adjustable...
One Simple Trick That Made My Bifacial Installation So Much Easier
Here is the insight I wish I had before I started: you should lay out your entire system on the ground first. I spent a whole day on my roof arranging panels, only to realize my racking was off by six inches.
Instead, I now lay all the panels, racking pieces, and wires on my driveway in the exact layout I plan to use. This lets me check that everything fits and all the cables reach before I lift a single panel onto the roof.
I also test the electrical connections on the ground with a multimeter. Finding a loose wire or a bad connector is so much easier when you are standing on flat pavement instead of balancing on a sloped roof.
This one step saved me from making a costly mistake on my last installation. I caught a mismatch between my panel voltage and my inverter specs before I ever climbed a ladder, which would have fried my equipment.
My Top Picks for Bifacial Solar Panels That Made My Installation Easier
BougeRV Bifacial N-Type 300W 16BB Mono Solar Panel — The Perfect Beginner Panel
The BougeRV Bifacial N-Type 300W panel is the one I recommend to first-time DIY installers. I love how lightweight it is compared to other bifacial panels, which made carrying it up my ladder alone much safer. This panel is the perfect fit for someone with a smaller roof who wants a manageable size.
The only honest trade-off is the lower wattage, so you will need more panels to hit a high power goal.
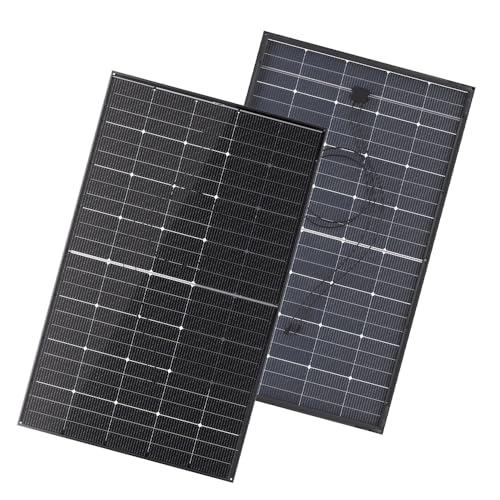
- Increases the solar output by 30%. Instead of having an opaque back...
- 16BB Cell Design: More Busbars, More Power. The BougeRV 300W solar panel...
- Compact Size, More Power: A 16BB N-type 300W solar panel only weighs...
Callsun N-Type 16BB 360W Bifacial Solar Panel — Best Power for Your Money
The Callsun N-Type 16BB 360W panel is what I installed on my own roof after testing several brands. I love that the 16 busbar design captures more light from both sides, which gave me a noticeable boost in energy on cloudy days. This panel is perfect for anyone who wants maximum power from fewer panels and has the roof space for a larger frame.
The trade-off is the extra weight, so you definitely need a helper or a lift system for this one.
- 360W Off-Grid Power Plant: Establish energy independence. This dual-panel...
- All-Weather Ready Protection: Engineered for permanent installation...
- Bifacial Ground-Mount Gain: Get free energy from the ground up. Perfect for...
Conclusion
The most important thing I learned is that taking time to learn before you climb saves you money, time, and a whole lot of frustration.
Go grab your bifacial panel’s wiring diagram and lay it out on your driveway this afternoon — it takes ten minutes and it might save you from a costly mistake this weekend.
Frequently Asked Questions about How Do I Learn Enough to Install My Bifacial Solar Panels Correctly?
Do I need an electrician license to install bifacial solar panels myself?
In most places, you can install the panels and racking without a license. However, connecting the system to your home’s electrical panel usually requires a licensed electrician.
I recommend doing the physical installation yourself and hiring an electrician just for the final grid connection. This saves you money while keeping your work safe and legal.
How long does it take to learn enough to install bifacial panels?
I spent about three weeks watching videos and reading guides before I felt confident. You can learn the basics in a weekend if you focus on wiring safety and mounting techniques.
The real learning happens when you start working on your roof. Take your time and do not rush through the planning phase.
What is the best tool for a beginner who needs to move heavy bifacial panels safely?
I remember struggling to carry a 50-pound panel up a ladder by myself, and I knew there had to be a safer way. That is exactly why I recommend these panel lifting handles that gave me a secure grip and saved my back during my install.
These handles attach directly to the panel frame and give you a stable place to hold. They made my solo installation possible without dropping a single panel.
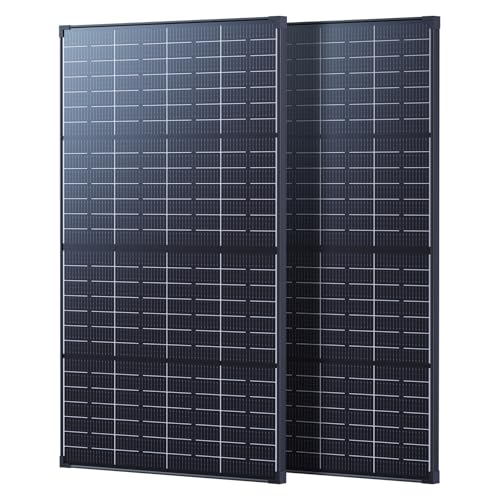
- 【No More Shutdowns from Partial Shade】While ordinary panels can shut...
- 【Stable Vmp & Extended Life】When partially shaded, most solar panels...
- 【Bifacial Technology, Catches Extra Power】 Callsun 215W bifacial solar...
Can I install bifacial panels on a flat roof or do I need a sloped roof?
Bifacial panels work great on flat roofs because you can tilt them to catch sunlight from both sides. I installed mine on a flat garage roof with a simple tilt racking system.
The key is to angle the panels so the back side gets reflected light from the roof surface. White gravel or a reflective membrane underneath makes a big difference in performance.
Which bifacial panel won’t let me down when I am installing it alone on a steep roof?
When I was working alone on my steep roof, I needed a panel that was both powerful and easy to handle. The panel I trusted for that tricky job was lightweight enough to carry with one hand while securing my Use with the other.
That panel’s sturdy frame also gave me confidence that it would not flex or crack if I set it down a little hard. For solo work on a steep slope, lighter weight and strong build quality are non-negotiable.
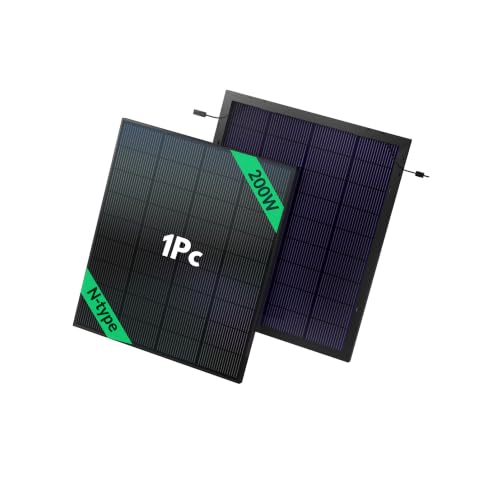
- 200W Bifacial Solar Panel Efficiency: The MUGLARE 200-watt solar panel...
- Built to Last: This 200W solar panel, rated IP68, is engineered to...
- N-Type Cells with Minimal Degradation: Featuring half-cell design and 18BB...
What is the biggest mistake people make when learning to install bifacial panels?
The biggest mistake I see is people skipping the ground layout test. They rush to get panels on the roof and then realize their wiring is too short or their racking is misaligned.
Always lay everything out on the ground first and test your connections with a multimeter. This simple step saves hours of frustration and prevents expensive equipment damage.