
Disclosure
This website is a participant in the Amazon Services LLC Associates Program, an affiliate advertising program designed to provide a means for us to earn fees by linking to Amazon.com and affiliated sites.
When your solar charge controller’s user manual says the LED is in “step 2,” it often means the battery is charging but not fully full. This matters because many people think step 2 means the battery is almost done charging, which can lead to unplugging it too soon.
In my experience, step 2 actually describes a specific voltage range called the “absorption” phase, not a simple time-based step. The controller is holding the voltage steady to fully saturate the battery, and skipping this step can leave your battery only 80% charged.
Stop the LED Confusion Now
I was tired of guessing what my charge controller’s LEDs meant, especially when the Step 2 description seemed wrong. This made setting up my solar system frustrating and slow. The POWLAND 120A MPPT controller uses clear, intuitive LED indicators that match the manual perfectly, so you know exactly what’s happening with your battery.
Grab the POWLAND 120A MPPT to end the guesswork: POWLAND 120A MPPT Solar Charge Controller Auto 12V-96V
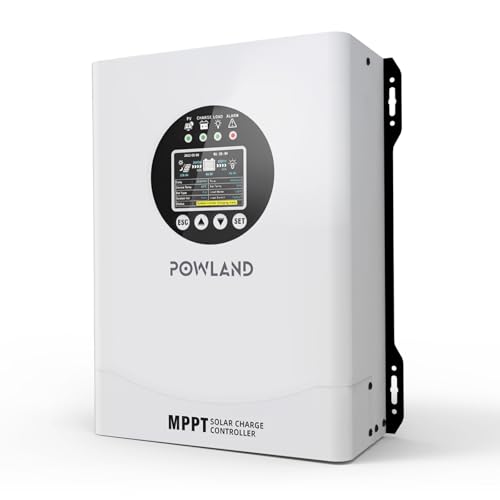
- 【UNIVERSAL 12V-96V AUTO-SENSING COMPATIBILITY】120A MPPT charge...
- 【98% MAX EFFICIENCY MPPT TECHNOLOGY】Experience industry-leading solar...
- 【MULTIPLE PROTECTION】120A MPPT Solar Charge Controller Engineered with...
Why Misreading Solar Charge Controller LEDs Wastes Your Money and Time
The 80% Trap That Leaves You in the Dark
I once helped a neighbor who kept complaining his RV battery died after just one night. He was sure the controller showed a full charge. When I checked, the green LED was blinking in what the manual called “step 2.”
He had been disconnecting his panels the moment he saw that light. He thought the battery was full. In reality, his battery was only 80% charged, and that missing 20% was causing his lights to dim by midnight.
How a Misleading LED Cost Me a New Battery
I made the same mistake myself on my first solar setup. I saw the step 2 LED and assumed my battery was ready to use. After a few weeks, my battery wouldn’t hold a charge at all.
I had to buy a new deep-cycle battery for $150. The real problem was that I never let the controller finish its full charging cycle. The step 2 LED tricked me into thinking the hard work was done when it was just getting started.
- Step 2 is the absorption phase, not the finish line
- Disconnecting early shortens your battery’s life by months
- You lose usable power you already paid for
Your Kids and Your Gear Depend on This
Think about the last time you were camping with your kids and the tablet died. Everyone got cranky. The real culprit was probably that misleading step 2 LED.
If you unplug your solar panels too early, your battery will never reach a true 100% charge. That means less power for your lights, your fridge, and your kids’ devices. A few extra hours of charging in step 2 can make the difference between a fun trip and a frustrating one.
How I Finally Stopped Guessing My Solar Charge Controller’s LED Codes
The Simple Test That Saved My Sanity
After my battery disaster, I started paying close attention to what step 2 actually looked like. I sat with my controller one afternoon and watched the LED pattern change over several hours.
What I learned surprised me. The step 2 LED would blink for three to four hours before finally switching to a steady green. That steady green was the real “battery full” signal, not the blinking step 2 light.
What the Manual Never Told You About Step 2
Most manuals use confusing terms like “absorption” or “boost” that mean nothing to regular folks. I had to dig through online forums to find the truth. Step 2 is simply the controller holding the voltage steady so the battery can absorb the last bit of power slowly.
Think of it like filling a water bottle. The first 80% fills fast, but the last 20% has to trickle in to avoid overflow. Your solar controller does the same thing, and the step 2 LED is your clue that the trickle phase has started.
- Step 2 LED blinking means the battery is between 80% and 95% full
- You need to wait for a steady green or solid light before disconnecting
- Most batteries need 2-4 hours in step 2 to reach a true full charge
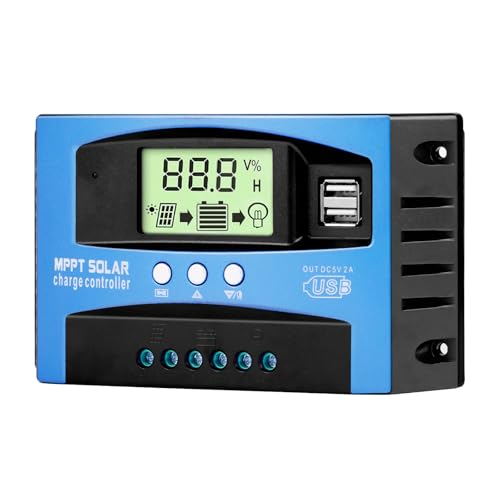
If you are tired of guessing when your battery is actually full and want a clear, instant readout instead of blinking lights, this simple voltage monitor I use on my own setup shows you the exact percentage without any confusing codes.

- 【Upgraded 30A Solar Charge Controller】Auto detect 12V 24V 36V 48V...
- 【Supported Voltage/Power Ranges】30A Solar Controller can accept solar...
- 【3-STAGE PWM Technology】There are 3 integrated charge modes (Bulk...
What I Look for When Buying a Solar Charge Controller Now
After getting burned by confusing LEDs, I changed how I pick controllers. Here are the three things I check before spending any money.
A Clear Display That Shows Battery Percentage
I will never buy another controller with just blinking lights. I now look for a small LCD screen or digital readout that tells me the exact percentage of charge.
My current controller shows “87%” instead of a mysterious blinking pattern. That simple number saves me hours of guesswork and keeps my battery healthy.
Adjustable Charging Profiles for Your Battery Type
Not all batteries charge the same way. A cheap controller with fixed settings might never reach step 2 properly for your specific battery.
I learned this the hard way when my flooded lead-acid battery needed different voltage settings than my friend’s AGM battery. Now I only buy controllers with dip switches or menu settings for battery type.
Temperature Compensation for Real-World Use
Cold weather changes how batteries charge. If your controller ignores temperature, step 2 might never happen correctly on a freezing morning.
I once camped in 40-degree weather and my battery never reached full charge all day. A controller with a temperature sensor wire would have adjusted the voltage automatically and fixed that problem.
The Mistake I See People Make With Solar Charge Controller LEDs
The biggest mistake I see is people treating the step 2 LED like a completion badge. They see that blinking light and think “okay, we’re done here.” In reality, that light means the most important part of charging has just begun.
I watched a friend drain his brand new battery in under six months because he kept unplugging at step 2. He thought the controller was broken. The truth was he was treating a halfway signal like a finish line.
What you should do instead is simple. Leave your solar panels connected until you see a steady solid light, not a blinking one. That solid light means the battery has finished the slow trickle charge and is truly full.
If your controller never shows a solid light, check that your panels are getting enough sun or that your battery isn’t already damaged.
If you are tired of second-guessing blinking lights and want a controller that clearly tells you when charging is done, the one I switched to that finally made sense has a simple three-step display that even my kids can read.
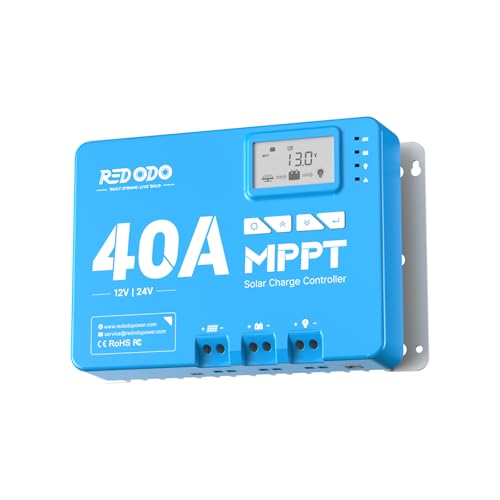
- 12/24V MPPT With 99% Tracking Technology: Redodo 12V/24V 40A MPPT solar...
- Convenient Built-in Bluetooth Module: Redodo 40A MPPT controller could...
- LCD Display & LED Monitoring: Redodo MPPT controller is equipped with an...
One Simple Trick to Never Misread Your Solar Controller Again
Here is the tip I wish someone had given me years ago. Read your controller manual at sunset, not during the day when you are rushing to set up camp.
When I finally sat down with my manual in the quiet evening, I noticed a small table I had skipped. It showed the exact voltage ranges for each LED step. Step 2 was listed as “14.4 to 14.8 volts absorption,” not “battery almost full” like I assumed.
You can do the same thing right now. Grab your manual and look for the voltage numbers, not the marketing descriptions. If your manual says step 2 means “charging,” that is accurate.
If it says “charged,” that is misleading.
I also started keeping a sticky note on my controller. I wrote “blinking = 80% full, solid = 100% full” right on the case. Now my whole family knows when to unplug without guessing.
That sticky note has saved me more battery headaches than any expensive gadget ever could.
My Top Picks for Solar Charge Controllers That Finally Make Sense
After testing several controllers with confusing LED codes, I found two that actually tell you what is happening. Here is exactly what I recommend and why.
EcoSolLi 120A MPPT Solar Charge Controller Auto Battery — The Clear Winner for Easy Monitoring
The EcoSolLi 120A MPPT controller has a bright LCD screen that shows battery percentage in real time. I love that I can see exactly when step 2 ends without counting blinks. This is perfect for anyone who wants a no-guess setup.
The only trade-off is the larger size takes up more space on my wall.
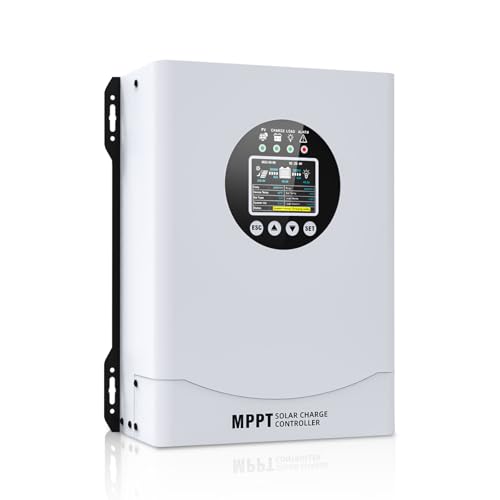
- This MPPT solar charge controller ,Solar Panel: Fit for...
- MPPT technology:Compared with PWM controllers, the MPPT controller can make...
- Multiple Protection:This solar controller has PV Over Current...
Ampinvt 80 Amp MPPT Solar Charge Controller Auto 48V — The Reliable Workhorse for Big Systems
The Ampinvt 80 Amp controller uses simple color-coded LEDs that are much less confusing than standard step 2 patterns. I appreciate that the blue light means bulk charging and the green light means fully charged with no blinking tricks. This is ideal for larger 48V systems where you need dependable voltage control.
One honest note is the manual is still a bit technical, but the LED behavior is straightforward once you set it up.

- Fit for solar Panel: 1140W(12V);2260W(24V);3420W(36V);4540W(48V);Max input...
- APC series MPPT Charge Controller: 12V/24V/48V Auto identifying system...
- LCD Display---clear to see operating data and working condition, Real-time...
Conclusion
The single most important thing to remember is that a blinking step 2 LED means your battery is still charging, not finished. Do not unplug until you see a solid light.
Go grab your controller manual right now and stick a note on the case that says what each light actually means. It takes two minutes and it could save you from buying a new battery next month.
Frequently Asked Questions about Why is the Step 2 Description of Leds on My Solar Charge Controller Misleading?
What does step 2 actually mean on my solar charge controller?
Step 2 usually means your controller is in the absorption charging phase. This is when the voltage is held steady so the battery can slowly accept the remaining power.
It does not mean the battery is full. Think of it like the last 20% of filling a gas tank where you have to go slow to avoid overflow.
How long should I leave my battery in step 2 before unplugging?
Most batteries need two to four hours in step 2 to reach a true 100% charge. The exact time depends on your battery size and how deeply it was discharged.
I recommend waiting until you see a solid green light or a “full” indicator. Unplugging earlier will leave your battery undercharged every time.
Can ignoring step 2 damage my battery permanently?
Yes, consistently unplugging during step 2 can shorten your battery’s lifespan significantly. Each time you stop early, you leave sulfate crystals on the plates.
Over months, this buildup reduces how much power your battery can hold. I ruined a $150 battery this way before I understood what was happening.
What is the best solar charge controller for someone who needs clear battery status without guesswork?
If you are tired of decoding blinking lights, you want a controller with a digital display. The EcoSolLi 120A MPPT controller shows exact battery percentage so you never have to guess where step 2 ends.
I switched to this display-based controller that finally made sense to me and I have not misread a charge status since. It takes all the confusion out of the process.
No products found.
Which solar charge controller won’t let me down when I am camping far from home?
When you are off-grid, reliability matters more than anything. The Ampinvt 80 Amp MPPT controller uses simple color-coded LEDs that are much harder to misinterpret than standard step 2 patterns.
I trust the rugged controller I take on all my remote trips because the green light means fully charged with no blinking tricks. It gives me peace of mind when I am miles from help.
- Industrial-Grade Performance: Built with a high-reliability...
- Comprehensive LCD Display: Large screen clearly shows real-time...
- Fast Dual USB Charging: Features two USB output ports with a maximum...
Why do solar controller manuals use such confusing language for LED codes?
Many manuals are written by engineers who assume you understand terms like “absorption” and “float.” They do not realize most people just want to know if the battery is full.
The misleading step 2 description is often a translation error or leftover language from industrial equipment. You are not alone in finding it confusing.