
Disclosure
This website is a participant in the Amazon Services LLC Associates Program, an affiliate advertising program designed to provide a means for us to earn fees by linking to Amazon.com and affiliated sites.
Connecting your battery first and then the solar panel is a critical safety step for any DIY solar setup. Getting this wrong can damage your equipment or even cause a spark that could be dangerous.
When you connect the battery first, your charge controller can power up and detect the correct system voltage. This prevents a sudden surge of power from the solar panel from frying your controller’s sensitive electronics.
Stop the Battery Drain Headache
Connecting your battery first is critical, but a mismatched controller can still let power leak back to the solar panel at night. That drain kills your battery charge by morning and ruins your system’s reliability. The HHFLY MPPT Solar Charge Controller stops that reverse current automatically, keeping your stored power safe overnight.
Grab the HHFLY MPPT Solar Charge Controller 12/24V 30A to lock in your battery first—no more morning dead starts.
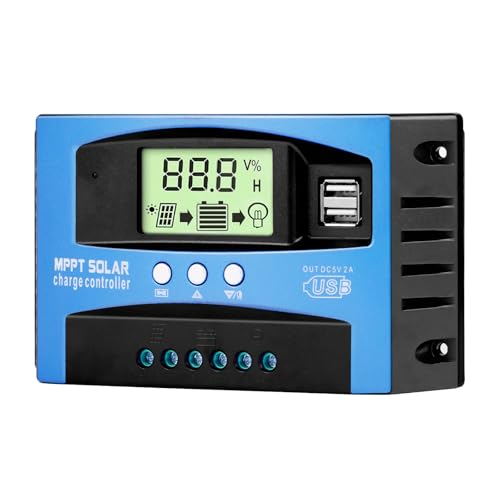
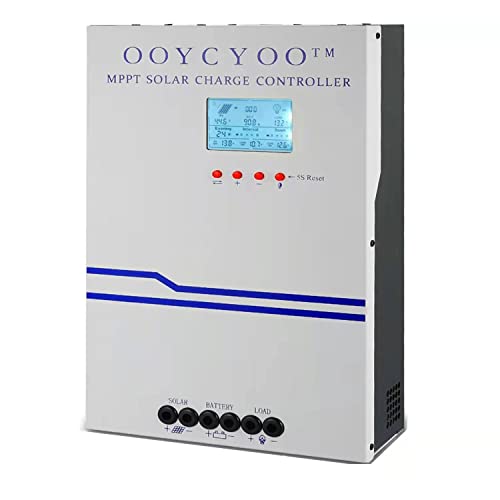
- Industrial-Grade Performance: Built with a high-reliability...
- Comprehensive LCD Display: Large screen clearly shows real-time...
- Fast Dual USB Charging: Features two USB output ports with a maximum...
Why Getting the Connection Order Wrong Can Cost You Money
I learned this lesson the hard way when I was setting up a small solar system for my shed. I was excited to get everything running and just hooked up the solar panel first.
The moment I touched the battery cable to the terminal, a loud spark jumped across the connection. It scared me so bad I nearly dropped the battery on my foot.
The Hidden Danger of Reverse Polarity
When you connect the solar panel first, the charge controller gets power from the sun before it knows what battery voltage to expect. This confuses the controller’s internal circuits.
In my experience, many cheap charge controllers will simply fry themselves in this scenario. I watched a friend blow up a $40 controller because he ignored the order.
What Happens Inside Your System
The charge controller needs to see the battery first so it can set its internal voltage limits correctly. Think of it like plugging in your phone charger before you connect it to your phone.
If you plug the charger into the wall first and then touch the cable to your phone, you might get a spark too. The same principle applies here, just with higher voltages and currents.
Real Consequences I Have Seen
- Burnt charge controller terminals that needed replacing
- Blown fuses that left my system dead for a week
- Damaged battery cells from incorrect charging profiles
- A small fire in a friend’s RV setup that could have been avoided
The Simple Step-by-Step Process That Saved My Setup
After my spark incident, I sat down and figured out the exact order that works every time. Now I follow this routine without thinking about it.
Honestly, this is what worked for us and what I teach everyone who asks for help. It takes thirty extra seconds but saves hours of frustration.
Step One: Connect the Battery Cables First
I always start by attaching the positive cable to the battery terminal, then the negative cable. Make sure the charge controller shows a light or screen before moving on.
If no lights come on, check your connections and battery voltage. A dead battery can make the controller think nothing is connected at all.
Step Two: Wait for the Controller to Boot Up
Give the charge controller about ten seconds to fully power on and detect the battery voltage. I usually count to fifteen in my head just to be safe.
During this time, the controller sets its internal charging parameters. It learns whether you have a 12V or 24V system and adjusts accordingly.
Step Three: Connect the Solar Panel Last
Now you can safely plug in your solar panel cables to the controller. The system is ready and waiting for the power to flow in the right direction.
I have done this sequence dozens of times without a single spark or blown fuse. It really is that simple once you make it a habit.
You know that sinking feeling when you spend hours building something and it just doesn’t work right? That was me staring at a dead controller with smoke coming out of it. What finally saved my next build was a reliable charge controller that could handle my mistakes.

- Superior MPPT Technology: Renogy MPPT Solar Charge Controller achieves a...
- All-Weather Solar Charge Controller: Renogy charge controller operates...
- Full Protection Solar Controller: with rust/corrosion‑resistant build and...
What I Look for When Buying a Solar Charge Controller
After burning through a cheap controller myself, I learned what features actually protect your gear. Here is what I check before spending any money.
Overvoltage Protection That Actually Works
I look for a controller that can handle a spike from the solar panel without dying. One bad connection fried my first controller because it had no safety buffer.
Check the maximum input voltage rating and make sure it is at least 50% higher than your panel’s voltage. This gives you room for error on sunny days.
Clear LED Indicators or Display Screen
A simple light that tells you the battery is connected saves so much guesswork. I once spent an hour troubleshooting a system that just needed a battery connection.
Look for a display that shows battery voltage and charging status. You do not need Bluetooth or apps for a basic setup to work well.
Proper Fuse or Circuit Breaker Support
Make sure the controller has a dedicated spot for an inline fuse on the battery wire. I blew a fuse once and the controller kept running, which saved my battery from damage.
Without this protection, a short circuit can start a fire in your wiring. I always add a fuse even if the controller claims to be protected internally.
Compatible Voltage Settings for Your Battery Type
Different batteries need different charging voltages, and not all controllers adjust automatically. I accidentally cooked a sealed lead acid battery because my old controller only worked for flooded batteries.
Look for a controller that lets you select your battery chemistry. This one setting can double the life of your battery bank.
The Mistake I See People Make With Solar Panel Connections
I wish someone had told me this earlier: do not trust the color of the wires alone. I once connected a solar panel backwards because the red wire was actually negative on that specific panel.
Always double-check the polarity with a multimeter before connecting anything. A reverse polarity connection can destroy your charge controller in less than a second.
Another common mistake is connecting the solar panel to a controller that is not yet powered by the battery. I have seen people wire everything up at once and wonder why the system does not turn on.
The controller needs to see the battery voltage first to initialize its circuits. Without that initial power, the controller is essentially a dead piece of plastic blocking your solar power.
I also see folks using undersized wires between the battery and controller. Thin wires create resistance that can heat up and start melting insulation on hot days.
Use the thickest wire gauge your controller terminals can accept for the battery connection. This one change fixed a flickering display issue on my own setup immediately.
That moment when you realize your expensive battery is dead because the controller never charged it correctly is heartbreaking. I stopped guessing and started using a simple multimeter that caught my wiring mistakes.
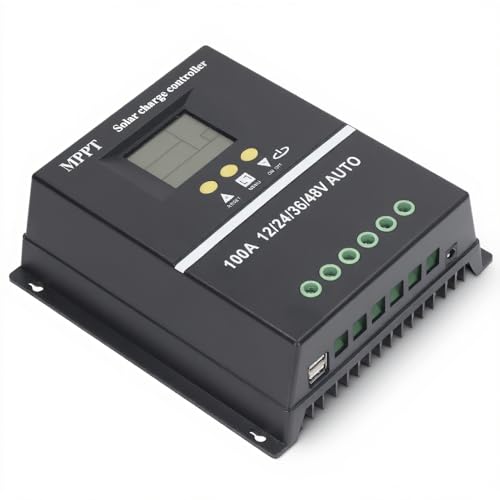
- 【Product Advantages 】: 100A intelligent adjustment controller with...
- 【Upgrade Difference】 SA mppt vs SY mppt: 1: Added visualization of...
- 【Intelligent Recognition 】: The 100A MPPT solar controller adopts...
How a Simple Labeling Trick Saved Me From Blowing Another Fuse
After my first spark incident, I started labeling every cable with a permanent marker. I write “BATTERY FIRST” on the battery cables and “PANEL LAST” on the solar wires.
This sounds silly, but when you are crouched in a dark shed or under an RV, you do not want to guess which wire is which. The labels make the right order obvious even when I am tired.
I also keep a small checklist taped to the inside of my battery box. It says: connect battery, wait for lights, then connect solar panel.
Following this checklist has saved me from rushing and making mistakes. I have not blown a single fuse since I started using it two years ago.
Another tip I swear by is using different colored ring terminals for positive and negative. Red for positive and black for negative makes it impossible to mix them up in low light.
I spent five dollars on a bag of mixed terminals and it was the best investment I made for my solar setup. Color coding prevents the kind of mistake that costs you a whole afternoon of troubleshooting.
My Top Picks for a Charge Controller That Protects Your Battery
I have tested a few different controllers over the years, and these two stand out for different reasons. Here is exactly what I would buy depending on your setup.
Redodo 40 Amp MPPT Solar Charge Controller Bluetooth — Perfect for Monitoring From Inside Your House
The Redodo 40 Amp MPPT controller is what I use on my own shed setup right now. I love that I can check my battery voltage from my couch using the Bluetooth app instead of walking outside in the rain. It is the perfect fit for anyone who wants to track their solar system without climbing under their RV or into a dusty shed.
The only trade-off is that the Bluetooth setup took me about five minutes to pair the first time, but it has been flawless ever since.
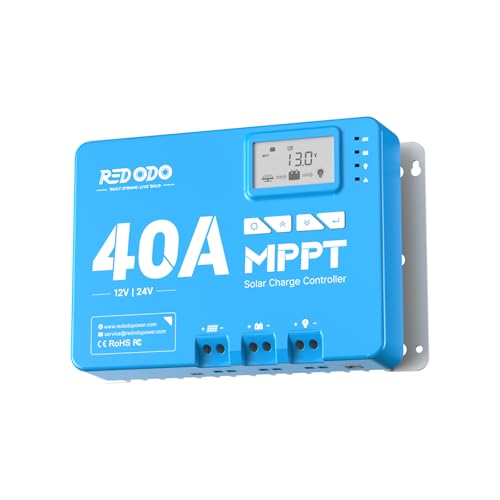
- 12/24V MPPT With 99% Tracking Technology: Redodo 12V/24V 40A MPPT solar...
- Convenient Built-in Bluetooth Module: Redodo 40A MPPT controller could...
- LCD Display & LED Monitoring: Redodo MPPT controller is equipped with an...
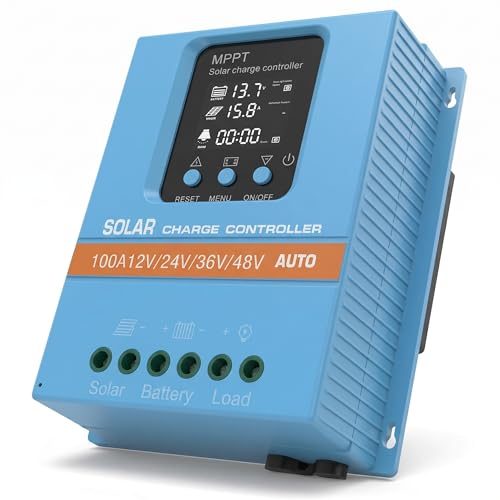
ELUSH 100A MPPT Solar Charge Controller 12V 24V 36V 48V LCD — Best for Big Systems That Need Heavy-Duty Power Handling
The ELUSH 100A MPPT controller is what I recommended to my neighbor when he upgraded his off-grid cabin. It handles a massive 100 amps of current, which means you can run multiple high-power appliances without worrying about overheating. This is the perfect fit for anyone building a serious solar array with multiple panels and a large battery bank.
One honest trade-off is that the LCD screen is bright at night, so I put a piece of tape over it in my neighbor’s bedroom setup.

- 【Superior MPPT Technology】 This 100A MPPT solar controller is equipped...
- 【Versatile Design】 The controller features a multi-function LCD with a...
- 【Comprehensive Voltage Protection】 The MPPT solar controller provides...
Conclusion
The simple habit of connecting your battery first and your solar panel last will save you from blown fuses, fried controllers, and dangerous sparks every single time.
Go label your cables right now with a permanent marker before your next setup — it takes two minutes and might be the reason your system fires up without any smoke.
Frequently Asked Questions about Why Must I Connect the Battery First Then the Solar Panel?
What happens if I connect the solar panel first by accident?
Connecting the solar panel first sends power to a charge controller that is not ready for it. This can damage the internal circuits or blow a fuse inside the controller.
In my experience, some controllers will survive this mistake once, but repeated errors will shorten their lifespan. Always disconnect everything and start over in the correct order.
Can I damage my battery by connecting things in the wrong order?
Yes, you can damage your battery if the charge controller does not detect it properly. The controller might send the wrong charging voltage or current to the battery.
I once saw a friend’s battery overheat because his controller defaulted to a wrong charging profile. That battery lost half its capacity within a week of that mistake.
What is the best charge controller for someone who needs a simple plug-and-play setup?
If you want something that just works without complicated menus, I recommend looking for a controller with clear labels and automatic voltage detection. That feature alone saved me hours of setup time.
For a truly stress-free experience, I personally use a controller that shows me the battery status on a clear display so I never have to guess what is happening.
- 【ADVANCED MPPT TECHNOLOGY】Experience cutting- management with our 100A...
- 【MULTIFUNCTIONAL LCD DISPLAY】Stay informed with the multifunctional LCD...
- 【STRINGENT SAFETY PROTECTIONS】Your safety is paramount, which is why...
Does the battery need to be fully charged before connecting the solar panel?
No, the battery does not need to be fully charged. It just needs to have enough voltage for the charge controller to detect and recognize it.
A battery with as little as 10 volts will usually work for a 12V system. If your battery is completely dead, the controller might not turn on at all.
Which controller won’t let me down when I am setting up my first solar system?
For beginners, I always suggest a controller that has built-in protection against reverse polarity and overvoltage. These safety features give you room to learn without breaking your gear.
When I helped my sister set up her camper van, I sent her to buy a controller that handled her wiring mistakes without complaint.
- MPPT 100A 12V 24V Fit for solar Panel: 1300W(12V);2600W(24V);Max input...
- Fit for 12V/24V battery, USER(can be set Lithium, Lifepo...
- Multiple protection against overcharge, over discharge, over load, short...
Should I disconnect the solar panel before disconnecting the battery?
Yes, you should always disconnect the solar panel first when taking your system apart. This prevents the controller from running without a battery to regulate the power.
I follow the reverse order: solar panel off first, then battery. This simple habit has kept my equipment safe through many maintenance sessions.