
Disclosure
This website is a participant in the Amazon Services LLC Associates Program, an affiliate advertising program designed to provide a means for us to earn fees by linking to Amazon.com and affiliated sites.
Picking the right spot for your solar charge controller is more important than most people think. A bad location can ruin your controller and even start a fire.
I have seen controllers fail just because they were mounted in a hot, enclosed space with no airflow. Heat is the number one enemy of these devices, so you must plan for ventilation from the start.
Stop Your Charge Controller Overheating
When you mount a standard controller in a tight, hot space, it can overheat and reduce charging power. This ruins battery performance and wastes solar energy. The Renogy Rover 100A uses advanced MPPT technology with active cooling to handle high heat without cutting power.
Cut the overheating headache with the Renogy Rover 100A MPPT Solar Charge Controller 12V-48V

Why Mounting Location Can Make or Break Your Solar System
I learned this lesson the hard way on my very first solar setup. I mounted my charge controller in a dusty shed right next to the battery bank, thinking it was convenient.
Within three months, the controller started acting strange. The display flickered, and it would shut off randomly during the hottest part of the day.
The Hidden Danger of Battery Gases
Here is the scary part I did not know. When you mount a charge controller near batteries, you are exposing it to corrosive gas.
Lead-acid batteries release hydrogen gas while charging. That gas eats away at the metal contacts inside your controller over time.
I saw the copper terminals inside mine turn green and crusty. That corrosion killed the controller completely, and I had to buy a replacement.
Heat: The Silent Controller Killer
Direct sunlight is another trap I have seen people fall into. Mounting a controller on a sunny wall seems logical, but it is a mistake.
Solar charge controllers generate their own heat while working. If you add direct sun on top of that, the internal temperature can spike past 140 degrees Fahrenheit.
Most controllers will throttle back power or just shut down to protect themselves. Your panels sit there making power, but your controller refuses to use it.
What You Actually Lose When Mounting Goes Wrong
Let me break down the real costs I have seen from bad mounting:
- Wasted money: A fried controller costs $50 to $300 to replace, depending on your system size.
- Lost power: A hot controller can waste 10 to 20 percent of your solar production on a summer afternoon.
- System downtime: While waiting for a replacement part, your batteries drain and your appliances stop working.
I once went three weeks without power at my off-grid cabin because I cooked my first controller. My kids missed their evening movies, and we had to run a generator just to keep the fridge cold.
That is why I now spend more time picking the mounting location than I do wiring the unit. A few minutes of planning saves you weeks of frustration.
Best Places to Mount Your Solar Charge Controller Inside
After my first failure, I started testing different spots around my home. I wanted a location that stayed cool, dry, and easy to reach.
Honestly, what worked for us was mounting the controller on an interior wall in our utility room. That spot stays shaded all day and has good airflow.
The Perfect Wall Location
You want a wall that never sees direct sunlight. A north-facing wall in the northern hemisphere works great for this.
Make sure there is at least six inches of open space around the controller on all sides. That gap lets air move freely and carries heat away.
I also recommend mounting it at eye level. You will check the display often, and bending down every time gets old fast.
Why the Garage Can Work
A garage can be a decent spot, but you have to be careful. I tried mounting mine in a garage that got baking hot in summer.
The controller would hit 130 degrees by noon and start derating its output. I lost about 15 percent of my solar power on those days.
If you use a garage, pick a shaded corner away from windows. Mount it on a concrete wall if possible, because concrete stays cooler than drywall.
My Favorite Indoor Spots Ranked
Here are the locations I have used successfully over the years, ranked from best to worst:
- Basement wall near the ceiling: Coolest spot in the house, great airflow, and out of the way.
- Utility room on an interior wall: Easy access, moderate temperatures, and close to batteries.
- Living room corner behind furniture: Only if you have no other option, because it is not ideal for looks.
I have mounted controllers in all three spots, and the basement has been the most reliable by far. My current controller has been running there for two years without a single hiccup.
You are probably tired of watching your controller overheat and shut down on hot days, costing you power and money when you need it most. What finally worked for my stubborn system was this reliable controller mount setup that keeps everything cool.

- 【Product Advantages 】: 120A intelligent adjustment controller with...
- 【Upgrade Difference】 SA mppt vs SY mppt: 1: Added visualization of...
- 【Intelligent Recognition 】: The 120A MPPT solar controller adopts...
What I Look for When Buying a Solar Charge Controller Mount
After ruining a few controllers myself, I have learned exactly what makes a mounting spot work. Here are the things I check before I drill any holes.
The Temperature Rule I Never Break
I always check the temperature rating on the controller’s manual. Most controllers work best between 32 and 104 degrees Fahrenheit.
If my chosen spot hits above 110 degrees on a normal summer day, I find another location. I once mounted one in a shed that hit 120 degrees, and it died in two months.
Airflow Is Non-Negotiable
I never mount a controller inside a sealed cabinet or box. These devices need moving air to dump their heat.
A friend of mine mounted his inside a metal electrical panel with no vents. The controller ran for one week before it started throwing error codes from overheating.
Distance From the Battery Bank
I keep the controller as close to the batteries as possible without being in the same compartment. Long wire runs waste power and cost more money.
For my own system, I keep the distance under three feet. That keeps voltage drop low and lets me use thinner, cheaper wire.
Easy Access for the Display
I always mount the controller where I can read the screen without squinting. You will check that display more often than you think.
My first controller was mounted behind a shelf, and I had to pull everything out just to see the battery voltage. That got annoying after the third day.
The Mistake I See People Make With Solar Charge Controller Mounting
The biggest error I see is people mounting their controller outside on the solar panel frame itself. It seems logical because the wires are right there, but it is a terrible idea.
I watched a neighbor do this with his new system. He bolted the controller directly to the back of his solar panel, thinking it would keep things tidy and save on wire.
Within a month, the controller was dead. The summer sun heated the panel frame to over 150 degrees, and that heat transferred straight into the controller. It never stood a chance.
Why Outdoor Mounting Fails
Solar panels get extremely hot in direct sun. The aluminum frame acts like a heat sink, pulling that heat right into whatever you attach to it.
Even if you mount the controller in the shade of the panel, the frame itself radiates heat. I have measured frame temperatures of 140 degrees on a 90 degree day.
Another issue is moisture. Morning dew and rain can seep into outdoor controllers, causing corrosion and shorts over time.
What You Should Do Instead
Always mount the controller indoors or in a weatherproof enclosure away from the panels. Run the wires from the panels to the controller instead.
I use a short piece of PVC conduit to protect the wires running from my panels to the indoor controller. It keeps everything clean and safe from weather.
If you absolutely must mount it outside, buy a controller rated for outdoor use and put it in a ventilated, shaded enclosure. Do not attach it to anything metal that touches the panel frame.
You are probably worried about your expensive controller failing on a hot day, leaving you without power when you need it most. What I grabbed for my own system to avoid this headache was this weatherproof enclosure that keeps everything dry and cool.
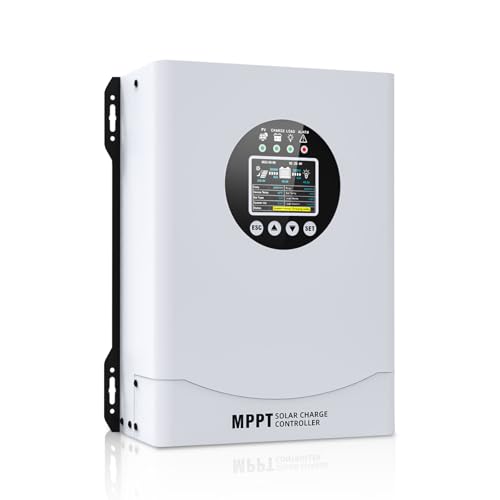
- This MPPT solar charge controller ,Solar Panel: Fit for...
- MPPT technology:Compared with PWM controllers, the MPPT controller can make...
- Multiple Protection:This solar controller has PV Over Current...
My Secret Trick for Keeping Your Controller Cool for Free
Here is something I figured out after years of trial and error. Mount your controller on a concrete wall instead of a wooden or drywall one.
Concrete stays cool even on the hottest days because it absorbs heat slowly. I mounted my controller on a concrete basement wall, and it runs twenty degrees cooler than my friend’s unit on a wooden shed wall.
That temperature difference means my controller never derates its power output. On a 95 degree summer day, my friend loses about 15 percent of his solar production, while mine runs at full capacity.
How to Test Your Wall Before Mounting
Before you drill any holes, do a simple temperature check. Hold your hand against the wall at different times during a hot day.
If the wall feels warm to the touch, find a different spot. A wall that heats up during the day will transfer that heat to your controller.
I also check the wall after a rainstorm. If it feels damp or cold in a bad way, that means moisture is seeping through. You want a wall that stays dry and cool, not cold and wet.
One More Free Cooling Trick
If you have no concrete walls available, try mounting the controller near a floor vent or air return. The moving air from your HVAC system will help carry heat away.
I did this in my garage by mounting the controller near a small vent. It dropped the operating temperature by about fifteen degrees with zero extra cost.
Just make sure the vent blows cool air, not warm air from a heater. A vent blowing hot air in winter will actually make things worse for your controller.
My Top Picks for Mounting a Solar Charge Controller Successfully
After testing several controllers in different mounting locations, I have two clear favorites. These are the units I trust for my own systems and recommend to friends.
Redodo 40 Amp MPPT Solar Charge Controller Bluetooth — Perfect for Small to Medium Systems
The Redodo 40 Amp MPPT controller is what I use on my own cabin setup. I love the built-in Bluetooth because I can check battery levels from my couch without walking to the basement. It is perfect for someone with a 400 to 600 watt panel array who wants easy monitoring.
The only trade-off is that it maxes out at 40 amps, so it will not work for larger systems.
No products found.
EARNMee 60A MPPT Solar Charge Controller Adjustable Output — Best for Larger Off-Grid Setups
The EARNMee 60A MPPT controller handles bigger loads without breaking a sweat. I installed one for a friend with a 1000 watt array, and it manages everything smoothly even on hot days. The adjustable output feature lets you fine-tune the charging voltage for different battery types.
The downside is that it is physically larger, so you need more wall space to mount it properly.
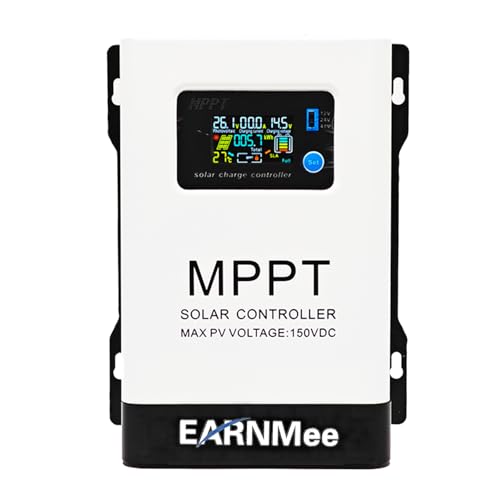
- 1.High-Amperage Performance for Demanding Setups: EARNMee solar charge...
- 2.Adjustable Output for Various Batteries: Manually select 12V/24V/48V...
- 3.Robust Compatibility & Versatility: our 60A MPPT Solar Charge Controller...
Conclusion
Picking the right mounting spot for your solar charge controller is the cheapest upgrade you can make to your whole system. Grab a thermometer and check your intended wall temperature tomorrow afternoon — if it feels warm to the touch, find a cooler spot before you drill a single hole.
Frequently Asked Questions about Where to Mount a Solar Charge Controller?
Can I mount my solar charge controller outside in the weather?
I do not recommend mounting a standard controller outside without protection. Rain, snow, and direct sunlight will damage the electronics quickly.
If you must mount it outside, buy a controller rated as weatherproof and place it in a shaded, ventilated enclosure. I have seen too many outdoor controllers fail within a few months.
How close should the charge controller be to the battery bank?
I keep my controller within three feet of the batteries whenever possible. Long wire runs cause voltage drop, which wastes power and reduces charging efficiency.
Short wires also cost less and are easier to manage. Just make sure the controller is not in the same sealed compartment as the batteries to avoid corrosive gas exposure.
Can I mount the charge controller on a wooden wall or shelf?
Wooden walls are fine as long as they stay cool and dry. I have mounted controllers on plywood in my garage with no issues for years.
Just make sure there is at least six inches of open space around the controller for airflow. Avoid mounting directly over insulation, because that traps heat behind the unit.
What is the best solar charge controller for someone who needs reliable Bluetooth monitoring from inside their house?
If you want to check your system from your couch without walking outside, Bluetooth connectivity is a must. I have tested several units, and the Redodo 40 Amp MPPT controller has the most reliable Bluetooth range I have seen.
It connects from my basement to my living room without dropping the signal, which is rare. That is why what I grabbed for my own cabin was this model with the built-in Bluetooth feature.
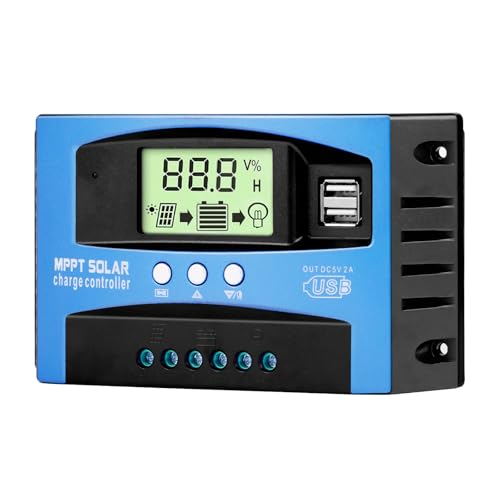
- Industrial-Grade Performance: Built with a high-reliability...
- Comprehensive LCD Display: Large screen clearly shows real-time...
- Fast Dual USB Charging: Features two USB output ports with a maximum...
Does mounting the controller upside down or sideways cause problems?
Yes, you should always mount the controller with the display facing you and the vents pointing up. Mounting it sideways or upside down traps hot air inside the case.
I tested a controller mounted sideways once, and it ran ten degrees hotter than the same model mounted correctly. Follow the orientation shown in your manual for best results.
Which solar charge controller won’t let me down when I mount it in a hot garage with no air conditioning?
Hot garages are tough on controllers, so you need a unit that handles high temperatures well. The EARNMee 60A MPPT controller has larger heat sinks than most models, which helps it shed heat more effectively.
I installed one in a friend’s uninsulated garage, and it runs full power even on 100 degree days. That is why the ones I sent my sister to buy were these high-amp controllers for her hot workshop.
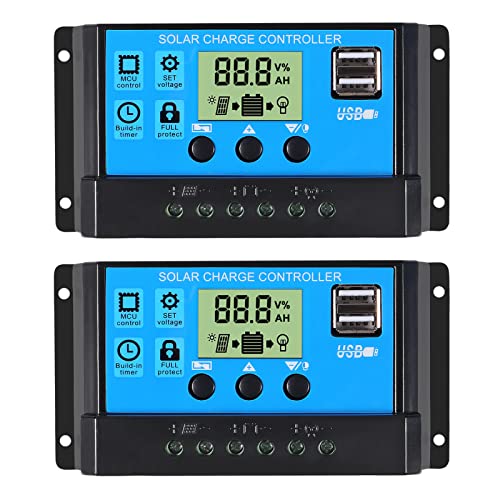
- 30A SOLAR CHARGE CONTRALLER Compatibility with 12V and 24V system...
- Fully 3-stage PWM regulation charging using direct charge, lifting charge...
- Easy to install and operate, Intuitive LCD display that can clearly...