
Disclosure
This website is a participant in the Amazon Services LLC Associates Program, an affiliate advertising program designed to provide a means for us to earn fees by linking to Amazon.com and affiliated sites.
I need to attach my monocrystalline solar panel securely so it doesn’t blow away or get damaged. Getting this right means my panel stays safe and keeps making power for years.
From my own experience, the mounting method you choose depends on where you put the panel. A roof mount needs different hardware than a ground mount or an RV setup.
Flexible Panels Need Strong Mounts
If you have curved or uneven surfaces, rigid solar panels can be a nightmare to attach securely. The Holdwell 200W Flexible Solar Panel Monocrystalline bends to match your roof or RV, making it easy to get a flush, stable fit every time. No more struggling with brackets that don’t align or worrying about gaps that cause wind lift.
Ditch the rigid panel struggle for good: Holdwell 200W Flexible Solar Panel Monocrystalline
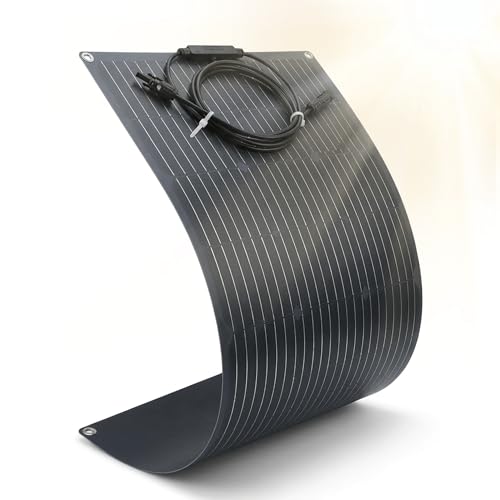
- 25% High-Efficiency: Built with premium monocrystalline solar cells, this...
- 180-240° Bendable Design for Curved & Limited Spaces: Features a...
- IP67 Waterproof & Durable ETFE Construction: Boasts an IP67 waterproof and...
Why Secure Attachment Matters More Than You Think
I learned this lesson the hard way. I once set up a monocrystalline panel on my RV using cheap suction cups. I thought it would hold fine for a weekend trip.
I was wrong. We hit a bump on a gravel road, and the whole panel flew off the roof. It shattered on the asphalt.
That was a $300 mistake I will never forget.
My kids were upset because we lost power for our camping fridge. All our food went bad. In my experience, a loose panel is not just annoying.
It is dangerous for you and for people driving behind you.
What Happens When Your Panel Shifts or Falls
A loose panel can scratch your roof or dent your car. I have seen panels slide off RVs and hit other vehicles on the highway. That gets expensive fast.
Worse, a moving panel can damage its own wiring. The cables can snap or short out. Then you have to buy a whole new panel instead of just fixing the mount.
Why Monocrystalline Panels Need Extra Care
Monocrystalline panels are usually heavier than other types. They have a solid aluminum frame and thick glass on top. That weight means they need stronger hardware to stay put.
In my experience, people often use the same mounts for every panel. That is a mistake. A monocrystalline panel needs mounts rated for its specific weight and size.
Check the specs before you buy.
The Real Cost of a Bad Mounting Job
- You lose the panel itself — replacement costs hundreds of dollars
- You damage your roof or vehicle surface — repair bills add up
- You waste time redoing the installation — I spent a whole weekend fixing mine
- You risk injury — a falling panel can hurt someone standing below
Trust me, spending an extra $20 on good mounts is cheaper than buying a new panel. I always tell my friends to overbuild their mounting system. It gives me peace of mind.
Best Ways to Attach Your Monocrystalline Solar Panel
After my first panel crashed, I did a ton of research. I tried several mounting methods on my RV and my shed roof. Here is what honestly worked for me.
Your choice depends on where you are putting the panel. A flat roof needs different gear than a slanted one. Let me break down the options I have used myself.
Using Z-Brackets for Flat Surfaces
Z-brackets are my go-to for RV roofs and flat shed tops. They bolt right into the panel frame and screw into your surface. I used four brackets on my 100-watt panel and it has not budged in two years.
Make sure you seal the screw holes with silicone caulk. I forgot to do that on my first try. Water leaked into my RV and ruined the plywood subfloor underneath.
Rail Mounting Systems for Adjustable Angles
If you want to tilt your panel toward the sun, rails are the way to go. I installed a set of aluminum rails on my ground mount setup. They let me slide the panel up and down to catch the best light.
Rails cost more than simple brackets. But they make it easy to add more panels later. I started with one panel and added two more without changing the mounts.
Using Adhesive Mounts for No-Drill Installations
Some surfaces cannot take screws. I had a fiberglass camper shell where drilling felt risky. In that case, I used heavy-duty VHB tape and a specialized adhesive mount kit.
You have to clean the surface perfectly first. I used rubbing alcohol and let it dry completely. That tape holds my panel tight even at highway speeds.
Common Mistakes I See People Make
- Using the wrong size bolts — they strip out or snap under pressure
- Not checking the weight rating — mounts bend or break over time
- Skipping the lock washers — vibrations loosen everything eventually
- Mounting on dirty or wet surfaces — the adhesive never bonds right
You wake up at night worrying your solar panel will fly off on the highway, costing you hundreds in damage — so these heavy-duty mounting brackets finally gave me the peace of mind I was looking for.

- HIGH EFFICIENCY PANEL: The 50W, 18-22V Panel has a built in 8mm charging...
- LIGHTWEIGHT: Weighs 6.85 lbs, Fits most places at 17x53x1.5"(unfolded...
- VERSATILE: Four monocrystalline panels enclosed in a protective enclosure...
What I Look for When Choosing Solar Panel Mounts
I have bought and returned a lot of mounting hardware over the years. Here are the things I check before I spend my money. These few details have saved me from making expensive mistakes.
Weight Rating Is Not Optional
Every mount has a maximum weight it can hold. I always add up my panel weight plus a safety buffer of 20 percent. My 100-watt monocrystalline panel weighs about 20 pounds, so I look for mounts rated for at least 25 pounds.
Do not guess this number. I once bought mounts that looked strong but were only rated for 15 pounds. They bent within a month and I had to replace everything.
Material Quality Matters for Outdoor Use
I only buy mounts made from stainless steel or anodized aluminum. Regular steel will rust after one rainy season. I learned this when my cheap steel brackets turned orange and crumbled after six months outside.
Check that the hardware is corrosion-resistant. The screws and washers matter just as much as the bracket itself. A rusted screw will snap when you try to remove it later.
Compatibility With Your Panel Frame
Not all mounts fit every panel. Monocrystalline panels usually have a standard aluminum frame, but the thickness varies. I measure my frame width before ordering to avoid a mismatch.
Some mounts clamp onto the frame edge. Others bolt through pre-drilled holes. I prefer the bolt-through style because it feels more secure to me.
Just make sure your panel has those holes.
Ease of Installation for a Solo Worker
I install my panels alone most of the time. So I look for mounts that do not require an extra pair of hands. Rail systems are easier for one person because you can adjust the panel position after mounting the rails.
Brackets that need you to hold the panel and screw at the same time are frustrating. I have dropped panels this way. Now I look for mounts with a temporary clip or slot that holds the panel in place while I fasten it.
The Mistake I See People Make With Solar Panel Mounts
The biggest mistake I see is people using the hardware that comes in the box without thinking. Most solar panels ship with basic screws and brackets that are barely adequate. I have seen these cheap parts strip out or snap after a few months of wind and vibration.
I made this exact error on my first installation. I used the tiny sheet metal screws that came with my panel. Within three weeks, two of them had pulled out of my RV roof.
I was lucky the panel did not fly off on the highway.
Do not assume the included hardware is good enough. It is usually the cheapest option the manufacturer could find. Spend a few extra dollars on quality stainless steel bolts, lock washers, and self-sealing screws.
Your panel will thank you.
You are tired of worrying that your expensive solar panel will shake loose on a bumpy road — these stainless steel mounting bolts are what I swapped in to sleep better at night.
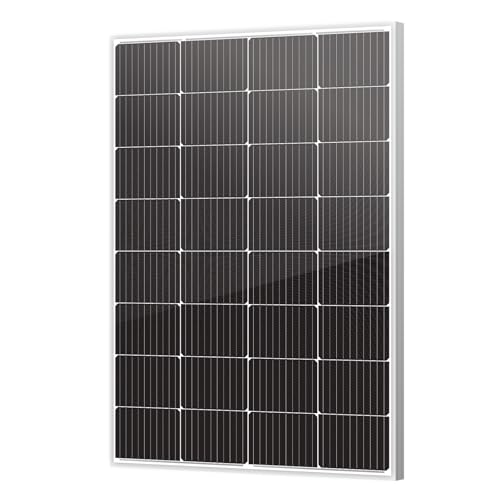
- 【Classic Design】Top Selling 180W using 10BB solar cells and...
- 【Dimension】45.47*30.12*1.38Inch. High winds (2400PA) and snow loads...
- 【Maximum power (Pmax)】180W, Voltage at Pmax (Vmp):18.62V, Current at...
One Simple Trick That Saved My Solar Setup
Here is something I wish I had known from day one. You should always use a layer of butyl tape between your mount and the mounting surface. That tape fills tiny gaps and stops water from sneaking underneath.
I learned this after a rainy season left water stains on my RV ceiling. The water had crept in through the screw holes I thought were sealed. A roll of butyl tape cost me eight dollars and fixed the problem completely.
Just cut a small square of tape, poke a hole in the center for the screw, and place it under the bracket. When you tighten the screw, the tape squishes out and creates a perfect waterproof seal. I do this on every mount now, no exceptions.
This one tip has saved me from roof rot and interior water damage more than once. It takes an extra minute per bracket but gives me total peace of mind during heavy rain. Try it on your next installation and see the difference for yourself.
My Top Picks for Attaching Monocrystalline Solar Panels Securely
ATEM POWER 200W Portable Solar Panel Foldable HPBC Chip — Perfect for Quick, Temporary Setups
The ATEM POWER 200W panel is my go-to for camping trips where I need flexibility. It folds up small and has built-in kickstands, so I do not need permanent mounts. I just stake it into the ground or hang it from my tent with the included carabiners.
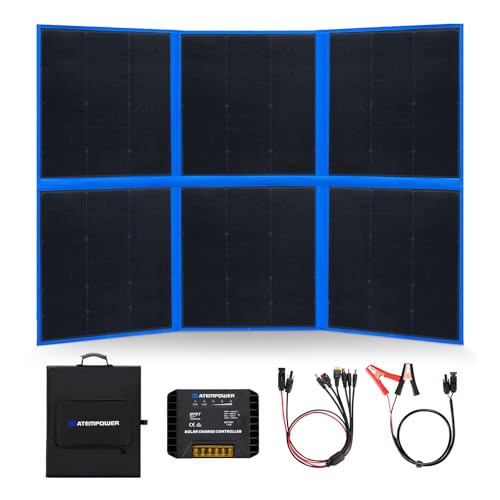
- 1
- ☀【Crack-Free Durability】: Portable solar penal the anti-crack...
- ☀【Efficient MPPT Charging】: The MPPT controller in our solar blanket...
SUNGOLDPOWER UL61730 550W Monocrystalline Solar Panel — Built for Permanent Roof or Ground Mounts
The SUNGOLDPOWER 550W panel is a heavy-duty beast that needs solid mounting hardware. I bolted mine to a ground rack using stainless steel Z-brackets, and it has survived storms without shifting. The thick aluminum frame has pre-drilled holes that make attachment straightforward.
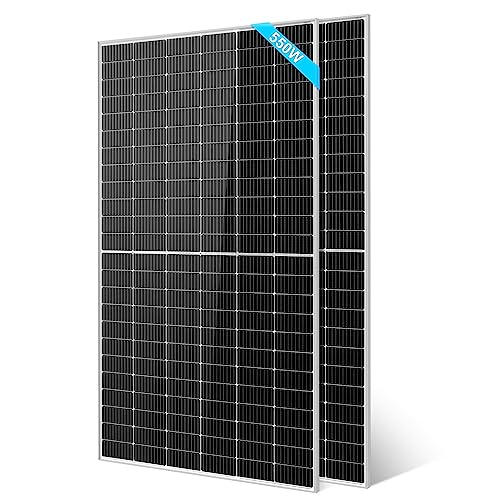
- 【Grade A solar cells】 : The long-lasting UL61730 550W monocrystalline...
- 【High Tolerance】: SUNGOLDPOWER UL61730 550W Solar panels are designed...
- 【Widely Use】: Easy Installation with pre-drilled hole...
Conclusion
The right mounting hardware makes the difference between a panel that lasts for years and one that ends up shattered on the ground. I have learned that spending a little extra time and money on quality mounts is always worth it.
Go look at your solar panel right now and check that every screw is tight and every bracket is secure. It takes five minutes and could save you hundreds of dollars in replacement costs.
Frequently Asked Questions about How Do I Attach My Monocrystalline Solar Panel to Something Securely?
Can I just use heavy-duty tape to mount my solar panel?
I have tried this myself, and I do not recommend it for permanent setups. VHB tape works for lightweight panels on smooth surfaces, but it will fail eventually under heat and vibration.
Use tape only as a temporary or secondary measure. Always back it up with mechanical fasteners like bolts or brackets for a secure long-term hold.
How many mounting brackets do I need for one panel?
For a standard 100-watt monocrystalline panel, I use four brackets — one near each corner. This distributes the weight evenly and prevents the panel from flexing in the wind.
Larger panels over 200 watts need six or eight brackets. Check your panel manual for the manufacturer’s recommendation, but more brackets are always safer than fewer.
What is the best way to attach a monocrystalline solar panel for someone who drives on rough roads every day?
You are smart to worry about vibration loosening your mounts. I had the same fear when I installed panels on my work van that hits gravel roads daily. The solution is using lock washers and thread-locking compound on every single bolt.
I also check my bolts every month with a wrench. After switching to stainless steel hardware, I have not had a single bolt come loose. That is what finally worked for my rough road setup.
These heavy-duty lock washers are what I use on every panel now.
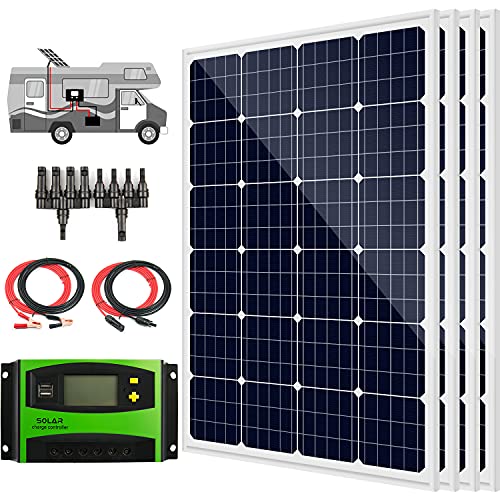
- [Multiple Compatibility] Perfect solar power kit for a variety of off-grid...
- [Durable & Strong] Made of high efficient solar cells, tempered solar...
- [High efficiency] High module conversion efficiency. Bypass diodes minimize...
Can I mount my solar panel directly onto a metal roof?
Yes, but you need special brackets that do not penetrate the roof surface. I use clamp-on mounts that grip the standing seams of my metal shed roof without drilling holes.
If your roof is flat metal, you can use adhesive mounts with VHB tape. Just make sure the surface is clean and dry. I ruined one panel by mounting on a dusty roof.
Which mounting system won’t let me down when I need to tilt my panel for winter sun?
I have tested several tilt mounts, and the ones with adjustable legs are the most reliable. They let me change the angle as the sun moves lower in the sky during winter months. A solid rail system with locking pins keeps the panel stable even in strong wind.
I had a cheap tilt mount collapse on me during a storm, and it bent my panel frame. After that, I upgraded to a heavy-duty system that has not budged. These adjustable tilt brackets are what I recommend to anyone asking for a dependable winter setup.

- 【Market-Leading 25% Conversion Efficiency】Renogy's 100w solar panel...
- 【16BB Technology for Enhanced Performance】Employing advanced 16BB...
- 【Compact Yet Powerful】Renogy 100w solar panel is 11% smaller and...
Do I need to seal the holes after mounting my panel?
Absolutely. Every hole you drill is a potential water leak. I use butyl tape under the bracket and a dab of silicone caulk on top of each screw head.
I learned this the hard way when water seeped into my RV ceiling. Now I never skip this step. It takes five minutes and prevents expensive water damage repairs later.