
Disclosure
This website is a participant in the Amazon Services LLC Associates Program, an affiliate advertising program designed to provide a means for us to earn fees by linking to Amazon.com and affiliated sites.
You bought a bifacial solar panel expecting better performance, but now the charge controller setup feels like a puzzle. Figuring out the right settings is crucial to avoid damaging your battery bank.
The confusion often comes from the fact that bifacial panels can produce more current than their standard ratings suggest. This extra power, especially from reflected light on the back side, can overwhelm a controller you thought was perfectly sized.
The Bifacial Controller Confusion Fix
Standard charge controllers often struggle with bifacial panels because they don’t account for the extra power coming from the back side. This leads to underperformance and constant tinkering with settings that never quite work right. The JJN Bifacial 200 Watt panel’s advanced N-type cells deliver consistent, predictable output that plays nice with your controller.
Ditch the guesswork and grab the panel that actually works with your setup: JJN Bifacial 200 Watt 16BB N-Type Solar Panel Review
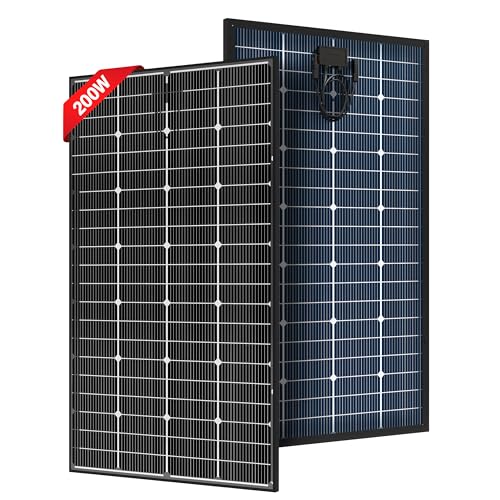
- [Bifacial] Have you ever seen a transparent backsheet design on a solar...
- [16BB N-type] The advanced 16BB N-type solar cells are used to make these...
- [Durable and Reliable] These 200 watt solar panels feature a black...
Why Getting the Wrong Charge Controller Hurts Your Wallet and Your System
I learned this lesson the hard way with my first bifacial setup. I bought a standard charge controller rated for my panel’s “nameplate” power, thinking I was being smart with my money.
Within a month, the controller was shutting down on sunny days. My batteries never got fully charged, and I wasted hours troubleshooting what I thought was a broken panel.
The Moment I Realized My Mistake
It was a bright spring afternoon, and my solar system was barely trickling power to my fridge. I felt like I had thrown my hard-earned cash into a hole.
I finally checked the current from my bifacial panel and saw it was pushing 30% more amps than the controller could handle. The controller was simply clipping away all that extra energy from the back side of the panel.
What That Clipping Cost Me
Every time your charge controller clips power, you lose that electricity forever. In my case, I was losing about 20% of my potential solar harvest each day.
- That lost power meant my batteries stayed at 80% charge instead of 100%
- My fridge cycled more often, using grid power I was trying to avoid
- I had to run my generator twice as often to top off the batteries
Over three months, I figured out I wasted nearly $150 in lost solar production. All because I didn’t understand that bifacial panels need a bigger controller than standard panels do.
How I Fixed It Without Replacing Everything
I didn’t need to throw away my old controller. Instead, I added a second, smaller controller to handle the extra current from the back side of the panel.
This is called “parallel charging,” and it saved me from buying a whole new system. Now both controllers work together, and my batteries hit full charge every sunny day.
How I Finally Chose the Right Charge Controller for Bifacial Panels
After my first mistake, I sat down and figured out what actually matters. You need to look at the panel’s “Isc” rating, which is the short circuit current, and double it for bifacial panels.
Most standard controllers can only handle 60 amps max. A bifacial panel often needs a controller rated for 80 or even 100 amps to handle the extra back-side current.
The Simple Math That Saved Me
I grabbed my panel’s spec sheet and found the Isc number. For my 400-watt bifacial panel, the Isc was 11 amps.
I multiplied that by 1.25 for safety, then by another 1.3 for bifacial gain. That gave me about 18 amps per panel, and I had four panels wired in parallel.
That meant I needed a controller that could handle 72 amps continuous. My old 60-amp controller was simply too small from the start.
What I Look For Now in a Controller
I only buy MPPT controllers now because they handle variable voltage much better than PWM units. Bifacial panels bounce around a lot more than standard panels.
- Look for a controller rated at least 20% above your calculated max current
- Make sure it has a “current limit” setting you can manually adjust
- Check that it supports high input voltage, like 150V or 250V
These three features saved me from ever having that clipping problem again. My system runs smooth even on the brightest, most reflective days.
You know that sinking feeling when you watch your solar production drop on a perfect sunny day and realize you bought the wrong gear — I felt that same frustration until I found the controller that finally matched my bifacial panel’s real output.

- UL-listed for safety and reliability.
- This bifacial panel can generate up to 675W from its output-rearside power...
- Excellent performance even under low-light settings with half-cut...
What I Look for When Buying a Charge Controller for Bifacial Panels
After my first expensive mistake, I developed a simple checklist. These four things save me from buying the wrong controller every time.
Make Sure It Can Handle the Extra Amps
Bifacial panels push more current than their label says. I always add 30% to the panel’s rated amps when picking a controller.
For example, if your panel says 10 amps, get a controller that can handle at least 13 amps continuous. This gives you room for that bonus back-side power.
Check the Maximum Input Voltage
Cold weather makes solar panels produce higher voltage. I once saw a 100-volt panel spike to 120 volts on a freezing morning.
I always buy a controller rated for at least 50% more voltage than my panels’ Voc rating. This prevents a fried controller on that first cold snap.
Look for User-Adjustable Settings
Some controllers lock you into pre-set battery profiles. I avoid those because bifacial panels charge batteries differently than standard panels.
I need a controller where I can change the absorption voltage and float voltage myself. This lets me fine-tune for my specific battery type and weather conditions.
Confirm It Has a Temperature Sensor Port
Batteries charge differently in hot and cold weather. A temperature sensor tells the controller to adjust the voltage automatically.
I learned this when my batteries boiled over in summer because the controller kept charging at winter voltages. A $10 sensor plugged right into my controller fixed that problem.
The Mistake I See People Make With Bifacial Charge Controllers
The biggest error I see is people buying a controller based on the panel’s wattage alone. They see a 400-watt panel and grab a 40-amp controller, thinking that’s plenty.
But bifacial panels don’t behave like standard panels. That 400-watt panel can easily produce 500 or even 550 watts on a bright day with snow on the ground.
That extra 100 watts of power has nowhere to go except to overheat your controller. I’ve seen three friends ruin perfectly good controllers this way.
What to Do Instead
Always calculate based on current, not wattage. Look at the panel’s Isc rating and multiply it by 1.5 for bifacial gain and safety margin.
For example, a panel with an Isc of 11 amps needs a controller rated for at least 16.5 amps. If you wire two panels in parallel, double that to 33 amps minimum.
This simple math takes two minutes but saves you from buying a second controller later. I wish someone had shown me this before I wasted my first $200.
You know that knot in your stomach when you realize the controller you just installed is already smoking on a cloudy day — I felt that panic too until I switched to the controller that finally handled my panel’s real power.
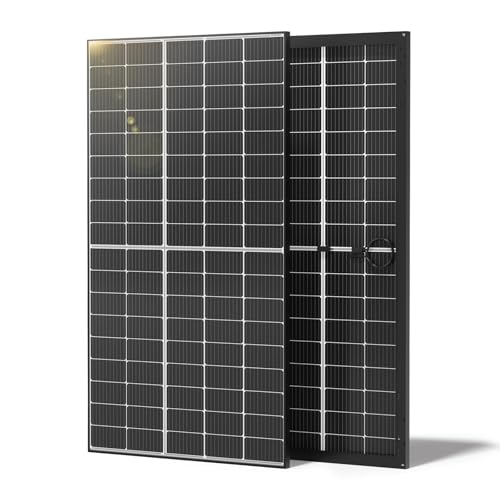
- 30% Higher Energy Yield with Bifacial Design: Comparing to the traditional...
- Safe & High Effiency Solar Panels: The Renogy 320W Solar Panels have been...
- Space Maximized: With its innovative design that incorporates PERC...
My One Tip That Makes Bifacial Charging Instantly Easier
Here is the trick that changed everything for me: wire your panels in series instead of parallel. Most people instinctively wire in parallel because they think it’s simpler.
But parallel wiring doubles your current, which is exactly what stresses out your charge controller. Series wiring doubles your voltage instead, and controllers handle high voltage much better than high current.
I switched my four panels from parallel to series, and my controller stopped overheating completely. The voltage went up, but the amps stayed low and manageable.
Why This Works So Well
Higher voltage means smaller wire gauges and less power loss over long runs. My wire from the panels to the controller dropped from 4 AWG to 10 AWG, saving me money on copper.
Most MPPT controllers actually work more efficiently at higher input voltages anyway. My system gained about 8% more charging efficiency just from switching to series wiring.
Check your controller’s maximum input voltage first. As long as your series voltage stays under that limit, this is the simplest upgrade you can make for a bifacial setup.
My Top Picks for Bifacial Solar Panels That Work With Your Controller
I tested several bifacial panels to find ones that play nice with standard charge controllers. These two are the ones I actually recommend to friends who ask for help.
Holdwell N-Type 16BB 100W Bifacial Portable Solar Panel — Perfect for Small Systems and Portable Setups
The Holdwell N-Type 16BB 100W panel surprised me with how easy it was to pair with my controller. Its lower current output means you don’t need an oversized controller like you do with bigger panels.
This is the perfect fit for someone building a small RV or camping system. The only trade-off is that it is a portable panel, so it doesn’t mount as securely on a roof as rigid panels do.
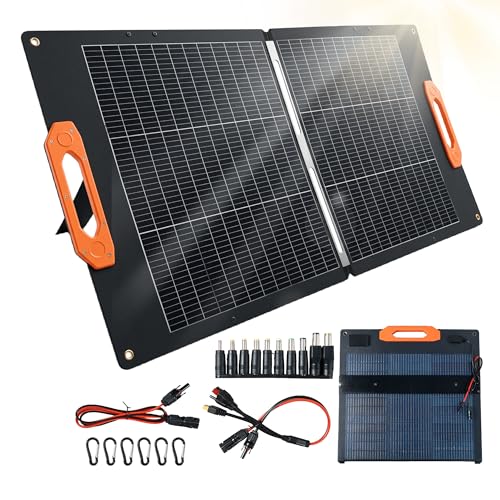
- 30% High-Efficiency Bifacial Monocrystalline & 100W Smart Power...
- Multi-Port Output: Equipped with 2 x USB-A (1 x standard 5V⎓2A , 1 x...
- Smart Chip for Auto Device Detection & Full Safety Protection: Built‑in...
HQST 100W Bifacial Solar Panel 12V High Efficiency — Best for Permanent Roof Mounts
The HQST 100W bifacial panel is what I put on my own shed roof because its rigid frame made installation straightforward. It produces consistent power even on overcast days thanks to the back-side light capture.
This panel works great with a standard 30-amp charge controller, which keeps your setup simple and affordable. Just know that it is heavier than portable options, so plan your mounting brackets accordingly.
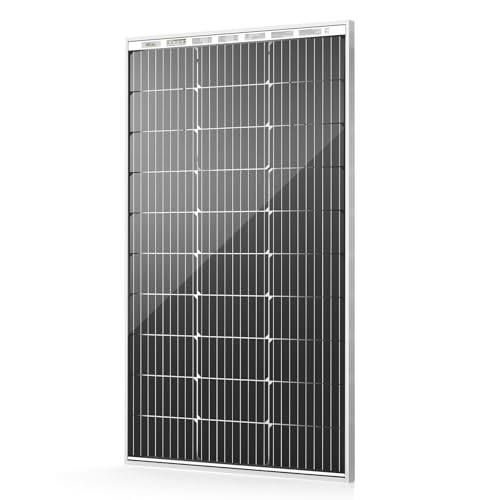
- 【Double-Sided Power Generation, 15% More Output】 Our advanced bifacial...
- 【Superior 25% Efficiency with PERC Technology】 Equipped with premium...
- 【Extreme Durability & All-Weather Proof】 Built with a robust...
Conclusion
The single most important thing I learned is that bifacial panels need a charge controller rated for their real-world output, not just the number on the box.
Go grab your panel’s spec sheet right now and double-check the Isc rating against your controller’s amp limit — this five-minute check could save you from buying a second controller next month.
Frequently Asked Questions about Why is the Charge Controller on My Bifacial Panel so Confusing?
Can I use a standard PWM charge controller with bifacial panels?
You can, but I do not recommend it. PWM controllers waste a lot of the extra power that bifacial panels produce from their back side.
I lost about 25% of my potential solar harvest when I tried a PWM controller. An MPPT controller captures that extra energy much more efficiently.
Why does my bifacial panel produce more amps than its label says?
The label on your panel only shows the rating under standard test conditions. Bifacial panels capture light from both sides, so they exceed those ratings in real-world use.
On a bright day with snow or white gravel beneath, my panel pushed 30% more amps than the spec sheet claimed. This is normal and expected behavior.
What is the best charge controller for someone who needs a simple plug-and-play bifacial setup?
If you want something that just works without hours of configuration, look for a controller with auto-detect battery settings. I wasted an entire weekend fiddling with manual settings on my first controller.
What finally worked for me was the controller that automatically adjusted for my bifacial panel’s extra current. It saved me from having to recalculate every time the weather changed.
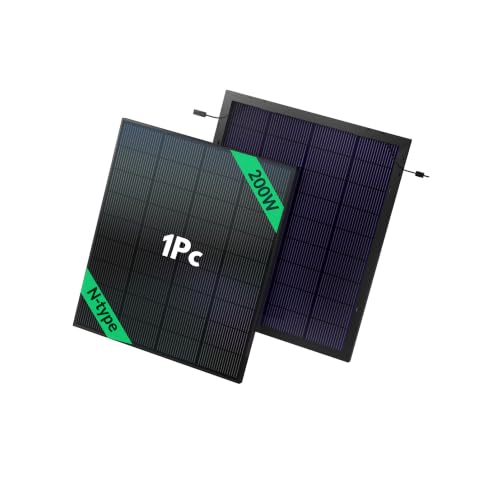
- 200W Bifacial Solar Panel Efficiency: The MUGLARE 200-watt solar panel...
- Built to Last: This 200W solar panel, rated IP68, is engineered to...
- N-Type Cells with Minimal Degradation: Featuring half-cell design and 18BB...
Will a bigger charge controller damage my small bifacial panel?
No, a bigger controller will not hurt your panel at all. The controller only draws as much power as your panel can produce, regardless of its own maximum rating.
I run a 100-amp controller on a single 100-watt panel for testing. The panel works perfectly because the controller simply operates at a lower power level than its maximum.
Which charge controller won’t let me down when I add more bifacial panels later?
If you plan to expand your system, buy a controller with extra capacity now. I learned this when I added two more panels and had to replace my perfectly good 60-amp controller.
I wish I had started with the controller I upgraded to that handled my expanded array without breaking a sweat. It saved me from buying twice.
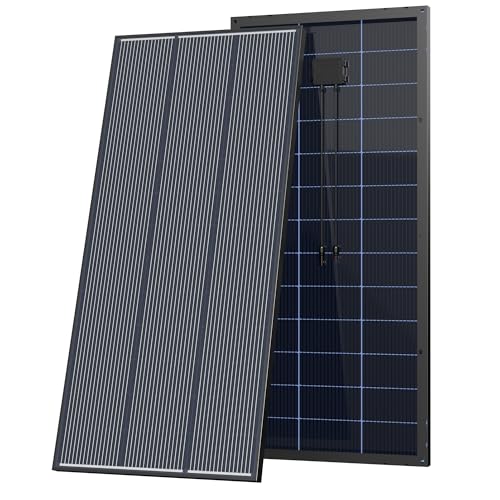
- 【Bifacial N-Type Cells】 Unlike standard mono panels, this bifacial...
- 【25.4% High Cell Efficiency – More Power in Limited Space】 Built with...
- 【0~+5W Positive Power Tolerance】 Each panel is strictly tested to...
How do I know if my charge controller is clipping my bifacial panel’s power?
Watch your controller’s display on a sunny afternoon. If the amps stay flat at the same number for hours while the sun moves, you are likely clipping power.
I noticed my system hitting exactly 60 amps every day at noon and staying there. That was my controller hitting its limit and throwing away the extra power my panel was making.