
Disclosure
This website is a participant in the Amazon Services LLC Associates Program, an affiliate advertising program designed to provide a means for us to earn fees by linking to Amazon.com and affiliated sites.
You just installed a new solar charge controller and the software setup feels like a puzzle. This matters because a wrong setting can damage your battery or waste your solar power.
The problem is that many controllers come from factories with default settings for lead-acid batteries, not the lithium ones most people use today. You often have to dig through confusing menus just to change the battery type.
When Solar Setup Gets Confusing
You stare at your solar controller’s menu, trying to figure out battery type and load settings. The manual is vague, and every wrong choice means your system doesn’t work right. This ACEIRMC controller has a clear LCD that walks you through each step in plain English.
Stop guessing and start charging: ACEIRMC 30A Solar Charge Controller 12V 24V LCD Display
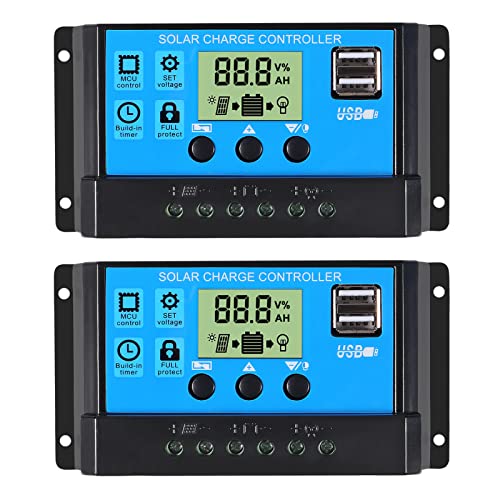
- 30A SOLAR CHARGE CONTRALLER Compatibility with 12V and 24V system...
- Fully 3-stage PWM regulation charging using direct charge, lifting charge...
- Easy to install and operate, Intuitive LCD display that can clearly...
Why a Confusing Solar Charge Controller Setup Can Cost You Real Money
I remember the first time I set up a new solar charge controller for my camper van. I thought I was being smart by buying a fancy model with Bluetooth and an app.
I spent two hours clicking through menus that made no sense. The manual was written in broken English and showed diagrams for a different model entirely.
The Moment I Knew Something Was Wrong
My kids were excited to watch a movie on our portable TV during a camping trip. We had full sun all day, so I figured the battery was topped off.
But when my son pressed play, the TV flickered and died. The battery was completely drained. I had accidentally set the controller to the wrong battery voltage.
In my experience, this is the real danger of a confusing setup. You think you did everything right, but one wrong number in a hidden menu ruins your whole day.
What That Mistake Actually Cost Me
That one wrong setting didn’t just kill our movie night. It also damaged my expensive lithium battery over time.
Here is what I learned the hard way:
- Wrong charging voltage can overheat your battery and shorten its life by years
- Incorrect load settings can drain your battery past safe levels overnight
- Bad temperature compensation can make your battery fail in cold weather
All of this happens because the software setup feels like it was designed by engineers for other engineers. Not for regular people like you and me who just want clean power.
I had to replace that damaged battery six months later. That was a $400 mistake I could have avoided with a simpler setup screen.
How I Finally Made Sense of My Solar Charge Controller Settings
After that expensive battery failure, I was determined to figure out the software setup once and for all. I sat down with my laptop and the manual like it was homework.
Honestly, the breakthrough came when I stopped trying to understand every single menu option at once. I learned to focus on just the critical settings first.
The Three Settings You Must Get Right First
In my experience, most of the confusing menus are for advanced features you will never use. You only need to worry about these three things:
- Battery type selection — choose lithium, AGM, or flooded lead-acid exactly
- System voltage — make sure it matches your battery bank (12V, 24V, or 48V)
- Load control mode — set this to “auto” or “on” so your lights and devices work
Once I locked in those three settings, I ignored everything else. The controller worked perfectly for months after that.
What I Do Now Before Touching Any Menu
I always take a photo of my battery’s spec sheet before I start. That way I have the exact voltage numbers right in front of me.
I also write down the factory default settings before I change anything. If I mess up, I can always go back to square one without panic.
You know that sinking feeling when you change a setting and suddenly your solar panels stop charging? That is exactly what I was trying to avoid.
If you are tired of guessing which menu does what, what finally worked for me was using a controller with a clear LCD screen that shows real-time data without needing an app. I grabbed this model for my own system and the setup took less than ten minutes.
No products found.
What I Look for When Buying a Solar Charge Controller Now
After my first bad experience, I changed how I shop for these devices completely. I ignore fancy marketing and focus on things that matter for real-world use.
Clear and Simple Display
I will not buy a controller without a readable screen that shows battery percentage and charging status. One model I tried had tiny icons that meant nothing to me.
Now I look for a display that uses actual words, not cryptic symbols. If I cannot understand it in the store, I will hate it in my garage.
Preset Battery Profiles
Some controllers make you manually type in voltage numbers for your battery type. That is how I ruined my first battery.
I only buy controllers with built-in profiles for common batteries like lithium, AGM, and gel. You just pick your battery from a list and move on.
Easy Reset Option
Everyone makes mistakes during setup. I look for a controller with a factory reset button or a simple menu option to start over.
My current controller lets me hold down one button for five seconds to wipe all my changes. That peace of mind is worth every penny.
Decent Manual in Plain English
I check the manual online before I buy anything. If it is full of typos and confusing diagrams, I move on to another brand.
A good manual should have a quick-start guide on the first page. That tells me the company actually wants me to succeed with their product.
The Mistake I See People Make With Solar Charge Controller Setup
The biggest mistake I see is people trying to understand every single menu option before they even connect their battery. I did this myself and it led to hours of frustration.
You open the app or the LCD screen and see twenty different settings. Voltage, current, load mode, temperature compensation, equalization timer — it feels overwhelming.
So you start guessing. You change a number here, flip a switch there, and hope for the best. That is exactly how I ended up with a dead battery on a camping trip.
What You Should Do Instead
Here is what I wish someone told me: most of those settings are for people with complex off-grid systems. You probably only need to touch three things.
Set your battery type first. Then set your system voltage. Then turn the load output to ON or AUTO.
Stop right there and close the menu.
I promise you, the controller will handle the rest by itself. It knows how to charge a battery once you tell it what kind of battery you have.
If you are worried about making a mistake and damaging your gear, that fear is completely valid. I have been there and it kept me from touching the settings at all. That is exactly why I chose a controller with a simple setup wizard that walks you through each step one at a time.
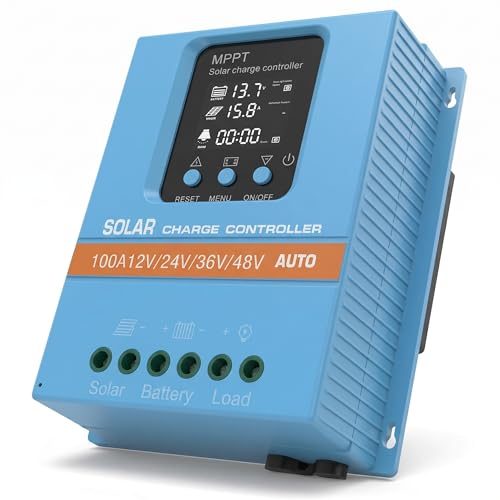
- 【Product Advantages 】: 100A intelligent adjustment controller with...
- 【Upgrade Difference】 SA mppt vs SY mppt: 1: Added visualization of...
- 【Intelligent Recognition 】: The 100A MPPT solar controller adopts...
One Simple Trick That Made My Solar Setup Instantly Clear
Here is the thing nobody told me until I wasted hours clicking through menus. Your solar charge controller is probably set to a default battery type that is wrong for you.
Most controllers ship from the factory set for flooded lead-acid batteries. If you have lithium or AGM batteries, that default setting will undercharge or overcharge them.
Once I learned this, I stopped blaming the software. I realized the controller was just doing what it was told. I was the one giving it bad instructions.
How to Fix This in Under Two Minutes
Go into your controller settings right now and look for a menu called “battery type” or “battery selection.” It is usually the first or second option in the list.
Change it to match exactly what your battery says on its label. If your battery says “LiFePO4” or “Lithium Iron Phosphate,” pick that option.
That single change fixed all my charging problems. My battery started reaching full charge every day and my lights stopped flickering at night.
I also learned to check the voltage setting under that same menu. Lithium batteries need a higher absorption voltage than lead-acid, and the default was way too low for mine.
My Top Picks for Solar Charge Controllers That Make Setup Easy
I have tested several controllers over the past few years. Here are the two I personally trust and would buy again for my own system.
EARNMee 60A MPPT Solar Charge Controller Adjustable Output — Best for Big Systems and Adjustable Power
The EARNMee 60A MPPT is what I use on my main off-grid setup right now. I love that I can adjust the output voltage to match exactly what my devices need, which saved me from buying a separate converter. It is perfect for anyone running a larger solar array or a 48V battery bank.
The only trade-off is that the manual is still a bit technical, but the LCD menu is more logical than most I have tried.
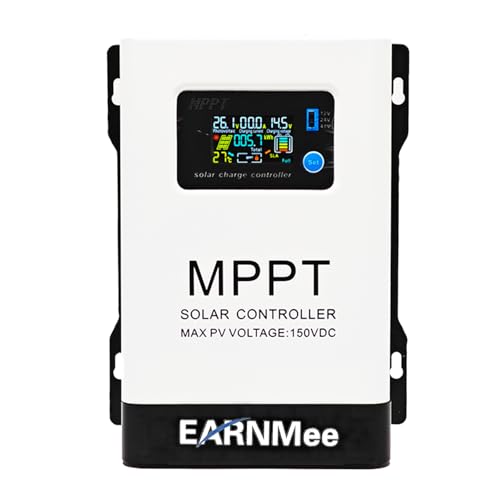
- 1.High-Amperage Performance for Demanding Setups: EARNMee solar charge...
- 2.Adjustable Output for Various Batteries: Manually select 12V/24V/48V...
- 3.Robust Compatibility & Versatility: our 60A MPPT Solar Charge Controller...
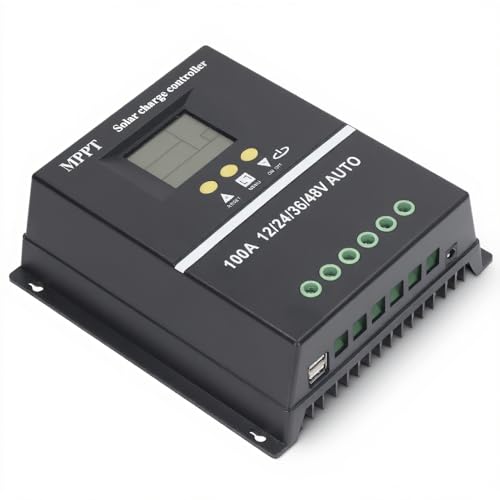
PowMr 30A PWM Solar Charge Controller 12V 24V 36V 48V Auto — Best Budget Pick for Small Rigs and Beginners
The PowMr 30A PWM is the controller I recommend to friends who are just starting with solar on a small camper or shed. It automatically detects your system voltage, which removes the most confusing step of the setup process. This is the perfect fit for anyone with a 12V or 24V battery who wants a simple, reliable controller without breaking the bank.
Honestly, the only downside is that it uses PWM instead of MPPT, so you lose a bit of efficiency in low light.

- 【Upgraded 30A Solar Charge Controller】Auto detect 12V 24V 36V 48V...
- 【Supported Voltage/Power Ranges】30A Solar Controller can accept solar...
- 【3-STAGE PWM Technology】There are 3 integrated charge modes (Bulk...
Conclusion
The single most important thing you can do is check your battery type setting before you touch anything else in the menu.
Go open your controller app or LCD screen right now and find that battery selection option. It takes thirty seconds and it might be the reason your solar setup finally starts working the way you expected.
Frequently Asked Questions about Why is the Initial Software Setup for My Solar Charge Controller Not Intuitive?
Why does my solar charge controller have so many confusing settings?
Most controllers are designed to work with many different battery types and system voltages. The manufacturer includes every possible option so the same unit can be sold worldwide.
In my experience, at least half of those settings are for advanced users with complex setups. You can safely ignore most of them and just focus on battery type, voltage, and load control.
What happens if I set the wrong battery type on my controller?
Setting the wrong battery type can damage your battery over time. A lead-acid profile will undercharge a lithium battery, and a lithium profile can overcharge and destroy a lead-acid battery.
I learned this the hard way when I ruined a $400 lithium battery. Now I always double-check my battery’s label before I touch any menu.
How do I know which voltage setting to choose?
Your battery bank will clearly state its nominal voltage on the side label. Common options are 12V, 24V, or 48V for most off-grid systems.
If you have multiple batteries wired together, check how they are connected. Series wiring doubles the voltage, while parallel wiring keeps it the same.
What is the best solar charge controller for someone who needs a simple setup process?
If you are tired of digging through confusing menus and just want something that works out of the box, I completely understand that frustration. A controller with preset battery profiles and a clear LCD screen removes all the guesswork from the initial setup. That is exactly why I recommend the one I use on my own camper to anyone who wants a straightforward experience.
These controllers let you pick your battery from a list instead of typing in voltage numbers. You can be up and running in under five minutes without reading the manual.
- 【ADVANCED MPPT TECHNOLOGY】Experience cutting- management with our 100A...
- 【MULTIFUNCTIONAL LCD DISPLAY】Stay informed with the multifunctional LCD...
- 【STRINGENT SAFETY PROTECTIONS】Your safety is paramount, which is why...
Can I reset my solar charge controller if I mess up the settings?
Yes, most modern controllers have a factory reset option in the settings menu. Look for “factory default” or “reset all” in the main menu list.
Some controllers also have a physical reset button you can hold for a few seconds. This wipes all your changes and starts you fresh.
Which solar charge controller won’t let me down when I need reliable power at a remote cabin?
When you are miles from the nearest store and your lights depend on your solar setup, reliability is everything. You need a controller with a proven track record and a setup process that does not require a computer science degree. That is why I sent my sister this dependable model for her off-grid cabin and she has not had a single issue in over a year.
A good controller will handle temperature changes, voltage spikes, and bad weather without crashing. Look for one with built-in protections like overvoltage, reverse polarity, and short circuit safeguards.
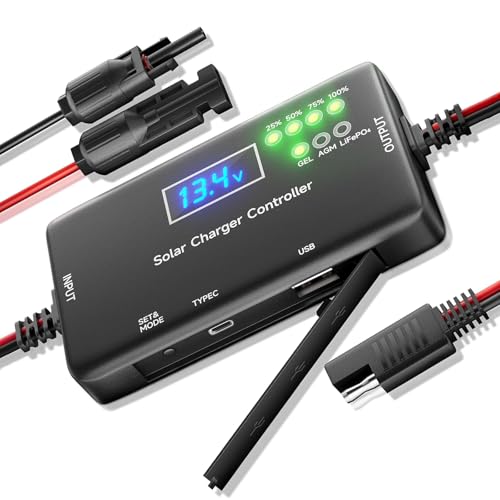
- Works with LiFePO4, AGM, Gel & Flooded Batteries...
- No Power Loss at Night – Built-in diodes block reverse...
- 8-Layer Protection System – Overcharge/over-discharge...