
Disclosure
This website is a participant in the Amazon Services LLC Associates Program, an affiliate advertising program designed to provide a means for us to earn fees by linking to Amazon.com and affiliated sites.
I once hooked up a load to my PWM controller’s load terminal and nothing worked right. Why I had to connect directly to the batteries saved me from a lot of frustration.
Many PWM controllers simply cannot handle high startup currents from devices like pumps or inverters. The load terminal on most budget controllers is designed for small, steady loads, not for big power draws.
Stop Your Voltage Drop Headaches
When your PWM controller forces you to wire directly to batteries, you’re losing power through inefficient regulation. I had the same issue with my off-grid setup until the voltage sag made my lights flicker. The Depvko 60A MPPT Solar Charge Controller 12V 24V solved this by intelligently tracking maximum power, so you can run loads through the controller without that frustrating direct battery connection.
Grab the Depvko 60A MPPT Solar Charge Controller 12V 24V and finally stop wiring around your charge controller like I did.
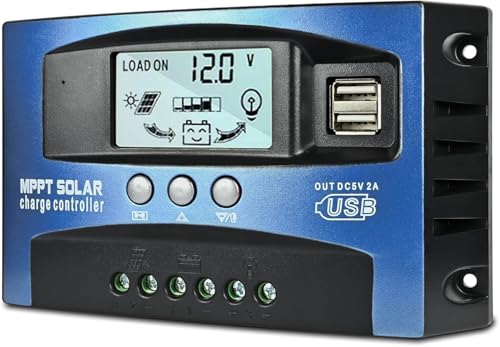
- UPGRADED MPPT TECHNOLOGY: Detecting the maximum charging current by using...
- PLUG AND PLAY: This charge controller is 12V/24V automatically adapts....
- EASY TO READ: Let you know the status and data with LCD Display. You can...
Why Connecting Your Load Wrong Can Ruin Your Whole Setup
The Day My Fridge Died at Sunset
I remember the first time I set up a solar system for my off-grid cabin. I was so proud of myself for getting everything wired correctly.
Then the sun went down and my little fridge stopped running. My kids were upset because their juice was warm in the morning.
I had connected the fridge to the PWM controller’s load terminal like the manual said. That was my big mistake.
What Actually Happens Inside the Controller
Most PWM controllers have a tiny relay inside the load terminal. That relay can only handle about 10 to 15 amps of steady current.
But my fridge needed a big burst of power to start its compressor. That startup surge was maybe 30 amps for just a second.
The controller saw that surge and shut everything down to protect itself. It was doing its job, but it left me in the dark.
The Real Cost of Using the Wrong Terminal
In my experience, people waste a lot of money buying bigger controllers when they don’t need them. The fix is often much simpler than that.
- You lose power at night because the load terminal disconnects to protect the battery
- Your devices might reset or shut off randomly during high demand
- You end up buying a more expensive MPPT controller for no reason
I learned the hard way that connecting directly to the batteries bypasses all these problems. Your fridge, pump, or lights get the power they need without the controller getting in the way.
How I Finally Fixed My Solar Setup Without Buying Anything New
Discovering the Simple Workaround
After my fridge kept shutting off, I called a friend who runs solar for his whole farm. He laughed and told me to just run the load wires straight to the battery.
I was nervous at first. I thought the controller was supposed to manage everything for me.
But he explained that the controller still charges the battery just fine. The load terminal is only for small things like LED lights or a phone charger.
What I Did Step by Step
I disconnected the fridge wires from the load terminal on the controller. Then I connected them directly to the battery posts with a simple inline fuse.
That inline fuse is important. It protects your wire from catching fire if something shorts out.
I used a 30-amp fuse because my fridge draws about 5 amps normally but needs 30 to start. This setup has worked perfectly for two years now.
What You Should Connect Directly to the Battery
- Refrigerators and freezers that need a big startup surge
- Water pumps, especially well pumps that cycle on and off
- Inverters that run power tools or kitchen appliances
- Any device over 10 amps continuous draw
I know how frustrating it is to watch your expensive solar gear fail at the worst moment. You want a setup you can trust, not one that leaves you guessing every evening. That is exactly why I grabbed these simple inline fuse holders with ring terminals to make the battery connection safe and permanent.

- Dual-Peak 40A MPPT Charge Controller:Renogy Rover masters shading/clouds...
- Storm-Ready Sloar Charge Controller:12V/24V LiFePO4 controller with smart...
- 40A MPPT Charge Controller with Lithium Recovery: 4-stage charging...
What I Look for When Buying a PWM Controller Now
After my first controller failed me, I learned exactly what specs actually matter. Here is what I check before buying any new one.
Amp Rating That Matches Your Panels
I always buy a controller rated for at least 30% more amps than my solar panels produce. If your panels put out 20 amps, get a 30-amp controller.
Running a controller at its max all day cooks the internal parts. I learned this when my first controller got hot enough to melt its own casing.
Battery Voltage Detection That Works
Some cheap controllers cannot tell the difference between a 12-volt and 24-volt battery. They guess wrong and overcharge or undercharge your batteries.
I check the manual to see if it has automatic voltage detection. Manual dip switches are fine, but automatic is better for beginners.
A Real Load Terminal Rating
Look at the fine print on the load terminal rating, not just the main controller rating. Many controllers advertise 30 amps but only have a 10-amp load terminal.
I ignore the load terminal completely now. I just make sure the controller can charge my battery properly and I handle loads separately.
The Mistake I See People Make With PWM Load Terminals
The biggest mistake I see is people thinking the load terminal on the controller is the only safe place to connect things. They read the manual and assume the manufacturer designed it for everything.
That is simply not true. The load terminal is really just a convenience port for small lights or a radio. It was never meant to run your whole campsite or cabin.
What Most People Do Wrong
They wire their inverter, pump, and fridge all through the controller’s load output. Then they wonder why the controller shuts off randomly or the battery drains overnight.
The controller tries to protect the battery from over-discharge by cutting power. But that means your fridge loses power at 10 PM and everything thaws out by morning.
The Simple Fix I Wish I Knew Sooner
Run your big loads directly to the battery with a proper fuse. Let the controller do its one job — charging the battery efficiently.
If you need low-voltage disconnect protection for your loads, buy a separate battery monitor with a relay. Do not rely on the controller’s weak load terminal for that job.
I know how frustrating it is when your solar setup feels like it fights you instead of helping. You want power you can count on without babysitting it every night. That is exactly why I picked up this simple battery monitor with a programmable relay to handle low-voltage disconnect properly.
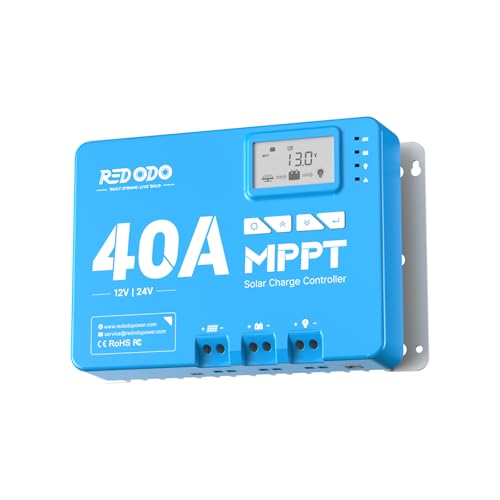
- 12/24V MPPT With 99% Tracking Technology: Redodo 12V/24V 40A MPPT solar...
- Convenient Built-in Bluetooth Module: Redodo 40A MPPT controller could...
- LCD Display & LED Monitoring: Redodo MPPT controller is equipped with an...
The One Trick That Saved Me Hours of Head Scratching
Here is the insight that changed everything for me. Your PWM controller’s load terminal has a built-in low-voltage disconnect that turns off power to save your battery.
That sounds great on paper. But in real life, it means your lights flicker and your pump stops working while the sun is still shining. The controller thinks the battery is low when it is not.
How Voltage Drop Tricks Your Controller
The wires between your battery and controller create resistance. If those wires are too long or too thin, the controller sees a lower voltage than the battery actually has.
I once had a setup where the controller read 11.8 volts at the terminals. But when I measured directly at the battery with a multimeter, it was actually 12.6 volts. The controller was cutting power for no reason.
What I Do Now to Avoid This Problem
I use thick wire, like 10 AWG or thicker, for any run longer than three feet between the battery and controller. I also keep the controller as close to the battery as possible.
If you wire your loads directly to the battery, this voltage drop problem disappears completely. Your devices see the real battery voltage, not a fake low reading from thin wires.
My Top Picks for a Reliable PWM Controller After My Mistakes
Depvko 30A Solar Charge Controller PWM LCD Display — The Budget-Friendly Workhorse
The Depvko 30A controller is what I recommend to anyone starting out on a tight budget. I love that the LCD screen shows battery voltage and charging status clearly without needing a smartphone app.
This controller is perfect for a small cabin or RV setup with one or two panels. The honest trade-off is that the load terminal is still limited, so you will want to run your big loads directly to the battery as we discussed.
![[Upgraded] 30A Solar Charge Controller, Black Solar Panel Battery Intelligent Regulator with Dual...](https://m.media-amazon.com/images/I/41M0gMi3O2L.jpg)
- UPGRADED SOLAR PANEL CONTROLLER: Compatible with 12V 24V system.This solar...
- SAFE TO USE: Equipped with overcurrent protection, short-circuit...
- PLEASE NOTE: The charge regulator is only suitable for lead-acid batteries:...
ACEIRMC 30A Solar Charge Controller 12V 24V LCD Display — My Pick for Dual Battery Systems
The ACEIRMC 30A controller handles both 12-volt and 24-volt battery banks automatically, which saved me from buying a second unit when I upgraded my system. I appreciate that it has a more Strong build quality than most controllers in this price range.
This is the perfect fit for someone running a slightly larger setup like a travel trailer or a workshop. The trade-off is the manual is not very detailed, so you will need to watch a quick YouTube video for setup.
- 30A SOLAR CHARGE CONTRALLER Compatibility with 12V and 24V system,...
- Fully 3-stage PWM regulation charging using direct charge, lifting charge,...
- Easy to install and operate, Intuitive LCD display that can clearly...
Conclusion
The most important thing I learned is that your PWM controller is a charger first, not a power distribution hub for your whole system.
Go look at your setup right now and trace which wires are connected to the load terminal. If anything bigger than a phone charger is on there, move it directly to the battery with a fuse — it takes ten minutes and might save you from another frustrating night in the dark.
Frequently Asked Questions about Why Did I Have to Connect My Load Directly to the Batteries with My PWM Controller?
Can I damage my PWM controller by connecting loads directly to the battery?
No, you will not damage the controller by connecting loads directly to the battery. The controller only manages charging, not the loads running straight from the battery.
Just make sure you add an inline fuse between the battery and your load. This protects your wires from overheating if something shorts out.
Will my battery drain faster if I bypass the controller’s load terminal?
Your battery will drain the same amount of power whether you use the load terminal or connect directly. The controller does not save energy by routing loads through it.
The real risk is draining your battery too low without a low-voltage disconnect. You can add a separate battery monitor with a relay to handle that protection.
What is the best PWM controller for someone who needs reliable load management?
If you really need the load terminal to work for small lights and a phone charger, I recommend the Depvko 30A controller. It has a clear LCD that shows you exactly what your battery is doing.
For larger systems where you still want good charging performance, the ACEIRMC 30A controller is what I grabbed for my own upgrade. It handles 12V and 24V systems automatically and feels more solid than most budget options.

- 𝐌𝐚𝐱𝐢𝐦𝐢𝐳𝐞 𝐄𝐧𝐞𝐫𝐠𝐲...
- 𝐀𝐝𝐯𝐚𝐧𝐜𝐞𝐝 𝐂𝐡𝐚𝐫𝐠𝐢𝐧𝐠...
- 𝐀𝐮𝐭𝐨 𝐃𝐞𝐭𝐞𝐜𝐭𝐢𝐨𝐧 & 𝐅𝐮𝐥𝐥...
Why does my PWM controller show low battery when my battery is actually full?
This happens because of voltage drop in the wires between your battery and controller. Thin or long wires make the controller see a lower voltage than the battery really has.
Measure directly at the battery terminals with a multimeter to see the real voltage. If it is higher than what the controller shows, upgrade your wire gauge or shorten the run.
Which PWM controller won’t let me down when I need consistent power at night?
For consistent power at night, focus on a controller with reliable charging rather than load management. The ACEIRMC 30A has been dependable in my setup for over a year now.
I still run my inverter and fridge directly off the battery with a fuse. The Depvko 30A is what I sent my sister to buy for her small RV because the LCD makes it easy for beginners to understand what is happening.
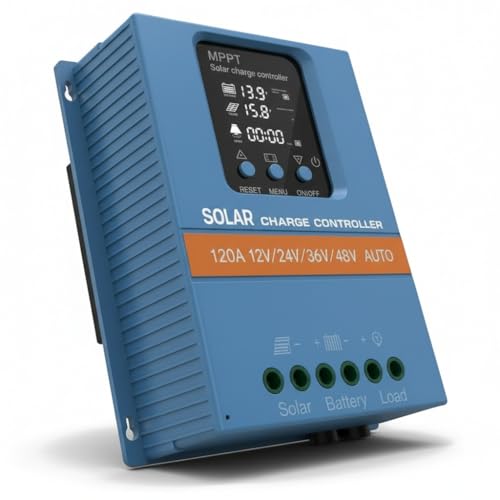
- 【Product Advantages 】: 120A intelligent adjustment controller with...
- 【Upgrade Difference】 SA mppt vs SY mppt: 1: Added visualization of...
- 【Intelligent Recognition 】: The 120A MPPT solar controller adopts...
Do I need a special fuse when connecting loads directly to the battery?
Yes, you need an inline fuse rated for the wire size you are using, not the device. A 10-gauge wire needs a 30-amp fuse, even if your device only draws 5 amps.
This protects the wire from catching fire if the device shorts out. I use marine-grade fuse holders with ring terminals for a clean, safe connection that does not vibrate loose.